Table Of Contents
StepbyStep Installation Process
Before undertaking hot water installation, it’s essential to prepare adequately. Start by gathering all necessary tools and materials, including wrenches, pipe fittings, and safety gear. Ensure you have access to the main water supply and electricity or gas line, depending on your heater type. Familiarise yourself with the manufacturer’s instructions for your specific model, as this knowledge will guide you through the process.
Begin by turning off the main water supply and disconnecting the old heater safely. Drain any remaining water from the tank to avoid spills. Next, position the new unit in place, taking care to align it with existing plumbing fixtures. Connect the cold water supply and hot water outlet pipes securely while ensuring proper sealing to prevent leaks. Once everything is in place, move on to the testing phase to ensure your hot water installation functions correctly.
Connecting the Water Heater to Plumbing
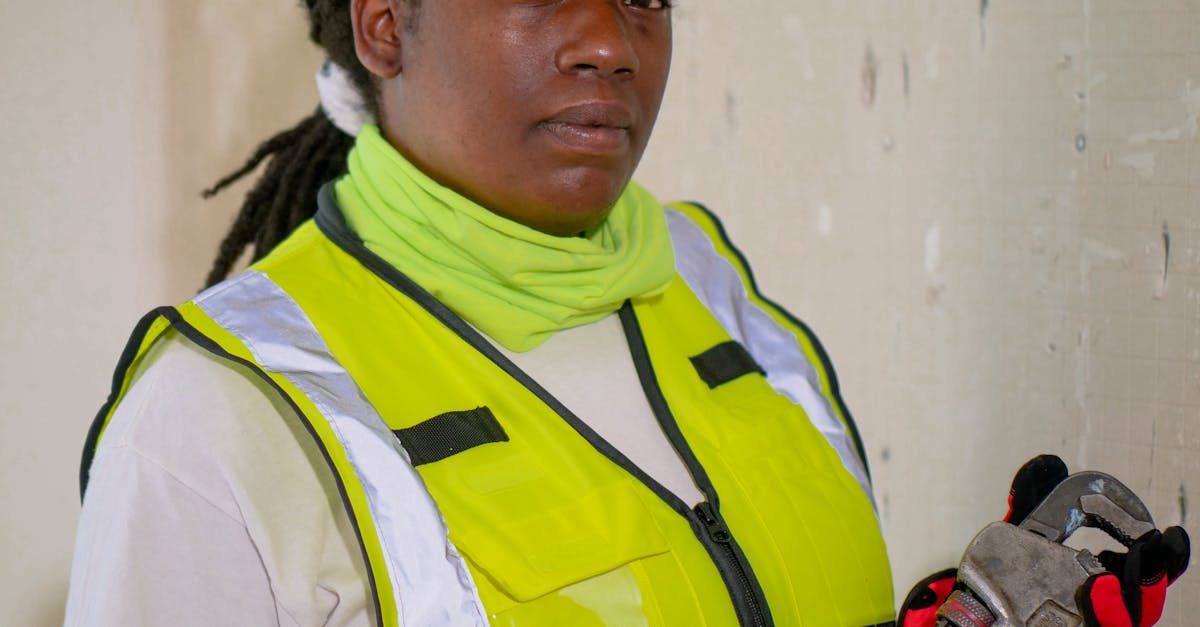
When connecting the new water heater to your plumbing, ensure that you have all necessary fittings and tools ready. Begin by turning off the main water supply to prevent any unwanted leaks or spills during the installation process. Use pipe wrenches to connect the cold water inlet and hot water outlet pipes securely to the heater. Always use Teflon tape on threaded connections to ensure a tight seal and prevent leaks. It’s essential to follow the manufacturer’s specifications for your specific hot water installation to guarantee optimal performance.
After the water lines are connected, you’ll want to check that all connections are secure and properly fitted. It’s a good practice to ensure that the temperature relief valve is in place for safety. Once everything is linked properly, open the cold water supply and allow the system to fill. Look for any signs of leaks around the connections as the tank fills. Taking the time to check these connections will greatly reduce the risk of issues later on and help ensure a smooth operation during your hot water installation.
Testing Your Installation
After completing your hot water installation, it is crucial to test the system to ensure everything is functioning correctly. Start by turning on the power supply or gas to the unit, depending on your water heater type. Allow the heater time to reach the desired temperature while monitoring the control panel for any error messages or alerts.
Once the water heater has been activated, turn on a hot water tap to check for flow and temperature consistency. Assess whether the water temperature meets your expectations and that there aren’t any unusual sounds emanating from the unit. Pay attention to the areas around your connections and piping for any signs of leaks, as this can indicate a problem that requires immediate attention.
Checking for Leaks and Proper Functionality
After completing your hot water installation, it is essential to check for any leaks. Start by closely inspecting all connections, including those at the inlet and outlet pipes. Running your fingers around these joints can help you detect any moisture. If you find any signs of leaking, it’s crucial to turn off the water supply immediately and tighten the fittings or replace any faulty components to avoid further damage.
Next, confirm the functionality of your new water heater. Set the thermostat to your desired temperature and allow the unit to operate for a while. Monitor the water flow from the taps, ensuring that hot water is being delivered consistently. If the temperature is not adequate or if there are fluctuations, it may indicate an issue with the heating element or thermostat settings that need addressing.
Troubleshooting Common Issues
When undertaking a hot water installation, some common issues may arise that require troubleshooting. If the unit fails to heat water, first ensure that it is receiving power. For electric heaters, check the circuit breaker or fuse box for any tripped breakers or blown fuses. In the case of gas heaters, confirm that the gas supply is on and that the pilot light is lit. These simple checks can often resolve the problem before further investigation is needed.
Should you notice insufficient hot water or fluctuating temperatures, it might indicate a problem with the thermostat or heating element. For electric units, a malfunctioning thermostat may prevent the heater from reaching the desired temperature. Gas models might experience similar issues, and checking the burner flames can offer insights into how well the unit is operating. Regular maintenance and understanding these common problems can be beneficial for your hot water installation experience.
What to Do If Something Goes Wrong
If you experience issues during your hot water installation, begin by ensuring all connections are secure. Check the water inlet and outlet connections for tightness. Examine the temperature and pressure relief valve to confirm it is functioning correctly. If you notice any leaks, turning off the water supply immediately is crucial to prevent further damage.
For problems related to the heater itself, consult the manufacturer's instructions to address error codes or flashing lights. If troubleshooting does not resolve the issue, contacting a professional plumber may be necessary. They can diagnose problems that require more advanced technical knowledge beyond basic installation.
FAQS
Is it safe to install a water heater by myself?
While it is possible to install a water heater yourself, safety is paramount. Ensure you have the right tools, follow local building codes, and consult the manufacturer’s instructions. If you're unsure, it's best to hire a licensed plumber.
What tools do I need to install a water heater?
Common tools required for installing a water heater include a pipe wrench, screwdriver, adjustable pliers, drill, and possibly a soldering kit for connecting copper pipes.
How can I tell if my water heater installation is successful?
After installation, check for leaks at all connection points and ensure the heater is heating water properly. Confirm that temperature settings are correct and monitor it for a few hours.
What should I do if I encounter a leak after installation?
If you find a leak, turn off the water supply immediately. Tighten any loose connections, and if the leak persists, consult the installation manual or contact a professional plumber for assistance.
Are there any local regulations I need to consider when installing a water heater?
Yes, different areas may have specific regulations regarding water heater installation, including permits and safety standards. Check with your local council or a licensed plumber to ensure compliance with local laws.
