Table Of Contents
Replacing a Worn Flapper
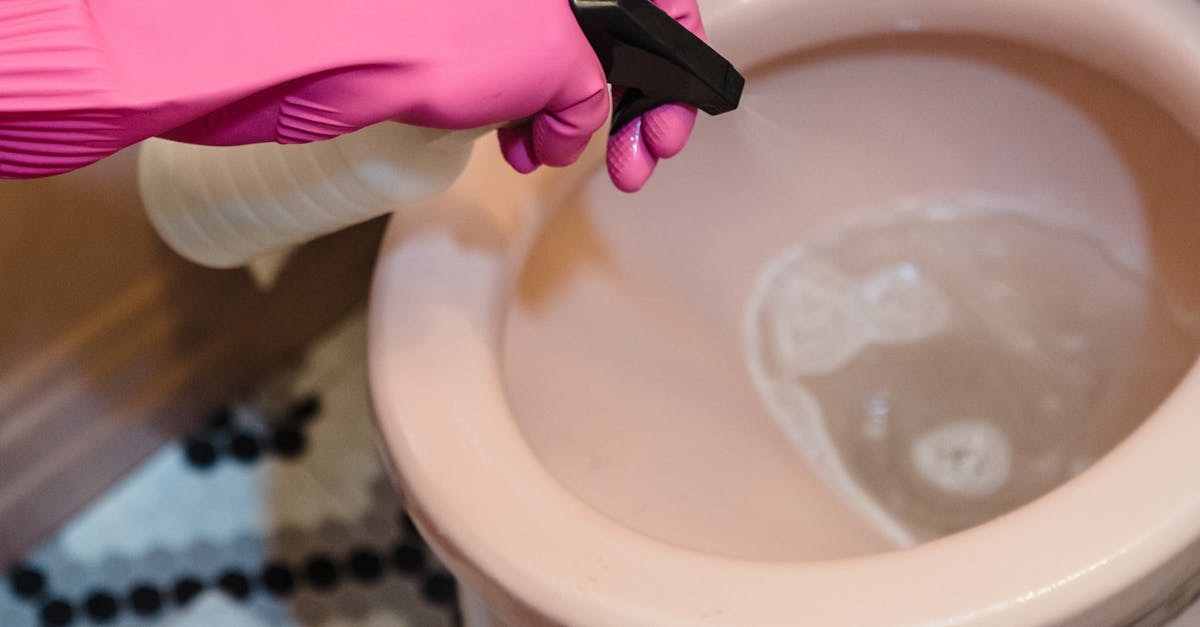
A worn flapper in a toilet can often be the source of persistent dripping. The flapper's primary role is to create a seal at the bottom of the tank, allowing water to fill the bowl. Over time, wear and tear can cause the flapper to become loose or develop small holes. This results in water leaking from the tank into the bowl, leading to unnecessary water wastage and increased utility bills. Homeowners facing such issues should consider flapper replacement as part of their toilet repairs.
Replacing a flapper is a straightforward task that usually does not require professional assistance. First, turn off the water supply to the toilet and flush to empty the tank. Remove the old flapper by detaching it from the flush valve and replacing it with a new one. Ensure the new flapper fits well and creates a proper seal. After installation, turn the water supply back on and test for leaks. Properly executed toilet repairs can restore functionality and efficiency to your bathroom fixtures.
Choosing the Right Flapper for Your Toilet
Selecting the correct flapper for your toilet is crucial for effective toilet repairs. Flappers come in various shapes and materials, so it’s important to choose one that matches your specific model. Most modern toilets use either a round or oval flapper, which may vary in size and height. It’s advisable to consult your toilet’s manual or take the old flapper to a hardware store for comparison.
Pay attention to the flapper’s material as well. Rubber and vinyl are common options, with rubber flappers generally having a longer lifespan. Opting for a high-quality flapper can reduce the frequency of toilet repairs and minimise potential leaks. Ensure that the flapper you select fits snugly and creates a proper seal to eliminate any chances of dripping.
Tightening Loose Connections
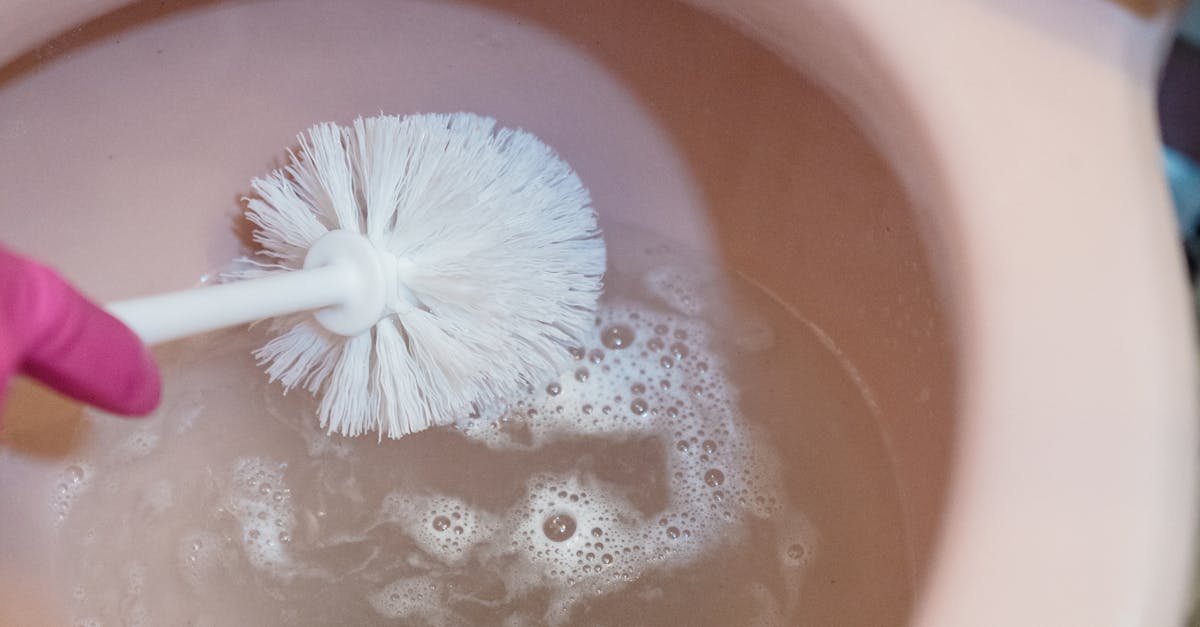
Loose connections in the toilet can often lead to annoying drips and leaks. Regular checks of the tank's bolts and the water supply line can help identify any minor issues before they become more significant problems. Tightening these connections usually requires only a wrench or pliers. It is essential to do this carefully, as over-tightening can cause damage to the components.
In addition to the tank bolts, ensure the rubber washers are in good condition. Old or worn washers may not provide a proper seal even when tight. After completing the toilet repairs, take the time to observe the connections for any signs of leaking. A little maintenance can go a long way in preventing water waste and ensuring your toilet works efficiently.
Securing the Parts to Prevent Dripping
To ensure your toilet does not continue to drip, it is crucial to secure all connections effectively. Start by checking the tank-to-bowl screws and the water supply connection for any signs of loosening or wear. Tightening these components can make a significant difference. However, be cautious not to overtighten, as this might lead to cracking in the porcelain or damaging the rubber seals.
Performing proper toilet repairs also involves checking the float assembly and the flush valve. Make sure these parts are aligned correctly and attached snugly. A loose float can cause water to continuously run into the bowl, leading to unnecessary dripping. Inspect the connections for signs of wear and replace any damaged parts promptly to maintain optimal performance and avoid recurring issues.
Testing the Toilet after Repairs
After completing your toilet repairs, it’s essential to conduct a thorough test to ensure everything is functioning properly. Start by turning the water supply back on and observing the toilet for any signs of leaks. Listen for the sound of water running continuously. If you notice any dripping or irregular noises, it may indicate that further adjustments are needed.
Next, flush the toilet several times to check the effectiveness of the repairs. Monitor how quickly the tank refills and whether the water stops at the appropriate level. If there are still issues with dripping or if the flapper does not seal correctly, re-examine the installed components. Making sure all parts work as intended is crucial to preventing future problems and maintaining a fully functional toilet.
Ensuring Everything is Functioning Properly
After completing your toilet repairs, it’s important to conduct a thorough check to ensure everything is functioning properly. Start by flushing the toilet multiple times and observing if any leaks are apparent. Pay particular attention to the area around the flapper and connections, as these are common sources of dripping. If you notice water dripping or pooling, further adjustments may be necessary to prevent future issues.
Next, listen for any unusual sounds that may indicate a problem. A hissing noise often points to a failing flapper or an improperly adjusted fill valve. By remaining vigilant during this testing phase, you can quickly address any lingering issues. Regular maintenance checks after repairs can keep your toilet in good working order and avoid unexpected water waste.
FAQS
What causes a toilet to drip?
A toilet may drip due to a worn flapper, loose connections, or a malfunctioning fill valve. Over time, these components can wear out or become misaligned, leading to leaks.
How do I know if my toilet flapper needs replacing?
If you notice water continuously running in the toilet bowl or hear a dripping sound, it may indicate that the flapper is worn out and needs replacing.
What type of flapper should I choose for my toilet?
It’s important to choose a flapper that is compatible with your toilet model. Check the specifications of your toilet or consult a plumbing professional to ensure you select the right type.
How can I tighten loose connections to stop a toilet from dripping?
Begin by inspecting the water supply line and tank bolts for any signs of looseness. Use a wrench to gently tighten these connections, being careful not to overtighten, which may cause damage.
What should I do after making repairs to my toilet?
After completing the repairs, turn the water supply back on and test the toilet by flushing it. Observe for any signs of dripping or leaks to ensure everything is functioning properly.