Table Of Contents
Replacing Damaged Parts
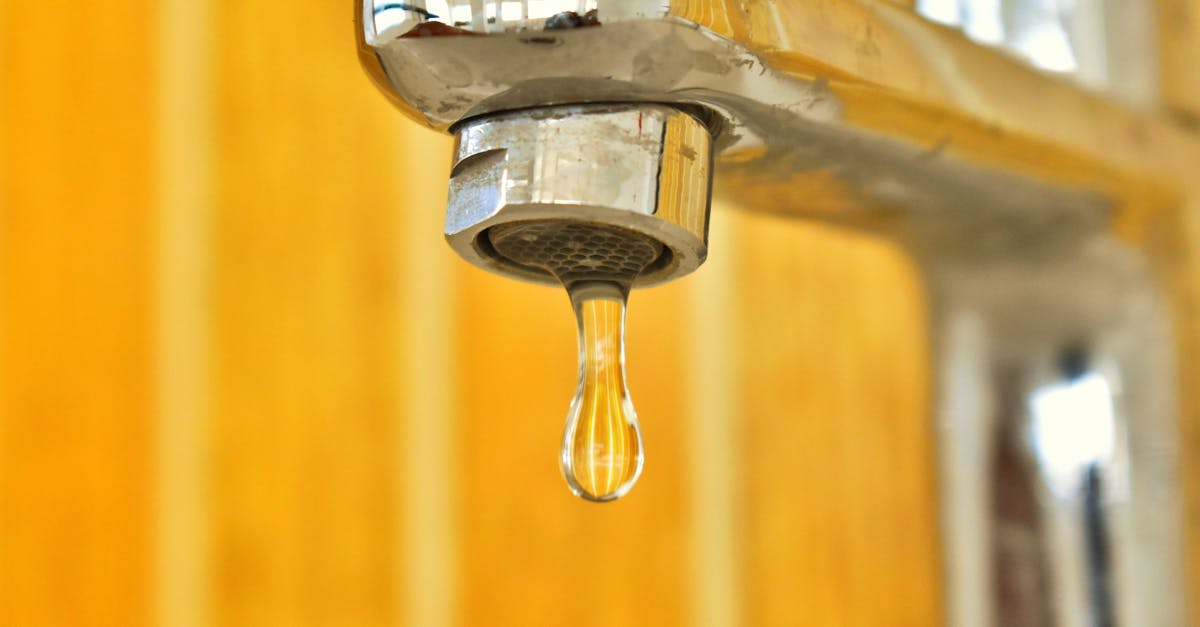
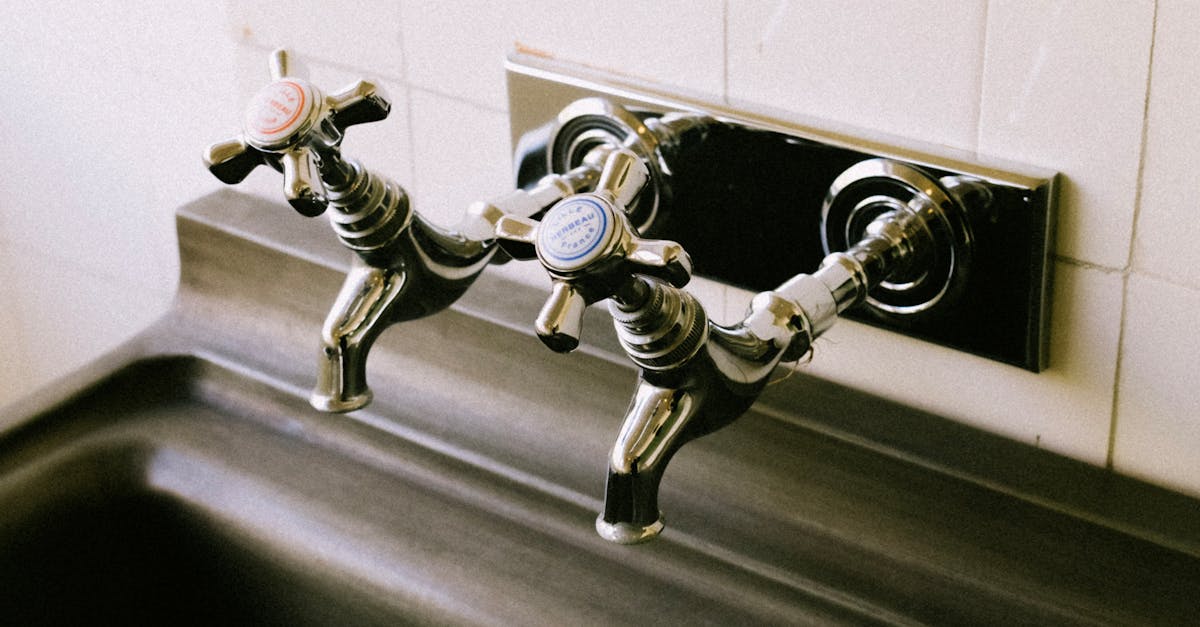
Leaking taps often stem from worn or damaged components within the tap assembly. Inspect the various parts closely, such as washers, O-rings, and seals, to identify any signs of deterioration. If any components appear frayed, cracked, or misshapen, they will likely need replacing. It’s essential to know the specific type of tap you have, as this will guide you in selecting the correct parts.
Once you have determined which parts need replacement, sourcing the right components is crucial. Local hardware stores typically carry a range of replacement parts suitable for common tap types. It’s beneficial to take the damaged parts with you, enabling you to find an exact match. Ensuring you have the right size and type is key to preventing future leaks and maintaining the efficiency of your taps.
Choosing the Right Replacement Parts
Selecting the right replacement parts is crucial when addressing leaking taps. These parts can vary depending on the tap’s brand, design, and model. It’s essential to identify the make and model of your tap to ensure that the new components fit correctly. Most hardware stores maintain a selection of common parts, but in some cases, you may need to order specific items online or visit a specialty plumbing supply store.
When assessing parts, consider the material of the replacement components. Some taps may require rubber washers, while others function better with ceramic discs or other materials. Opting for high-quality components will not only help fix current issues but may also prolong the lifespan of the tap, reducing the likelihood of future leaks. If unsure, referencing your tap’s manual or seeking advice from a knowledgeable store employee can aid in making the right choice.
Reassembling the Tap
Once you have replaced any damaged components, reassembling the tap is the next step in the repair process. Begin by ensuring that all parts are clean and free from debris. Carefully position the washers, O-rings, and any other seals in their correct locations. It’s crucial to avoid damaging these parts, as improper placement may lead to ongoing issues. Tighten the components gently, and be mindful not to over-tighten, as this can cause unnecessary strain and potential damage to the fittings.
After securing all components, attach the tap assembly back to its original fixture. Pay attention to the alignment to ensure a proper fit. Once everything is in place, it’s wise to double-check that all screws and bolts are adequately tightened. With the tap reassembled, it’s time to assess it for any signs of leaking taps. This final inspection helps identify if further adjustments are necessary before returning the tap to service.
Proper Techniques for Putting It Back Together
Once all the damaged components have been replaced, it is crucial to reassemble the tap correctly to prevent further issues. Begin by ensuring all parts are clean and free from debris. Take care to position rubber washers or O-rings in their designated places, as these are essential for creating a tight seal. Gently tighten the screws or nuts with an appropriate tool, avoiding over-tightening, which may cause damage to the components.
After the assembly is complete, it is vital to check the tap for any irregularities. Pay attention to how snugly the parts fit together. Leaking taps often result from misalignment or improperly seated seals. Double-check that everything is aligned correctly before reconnecting the tap to the water supply. This will help ensure a proper seal and prevent potential leaks from reoccurring.
Testing for Leaks
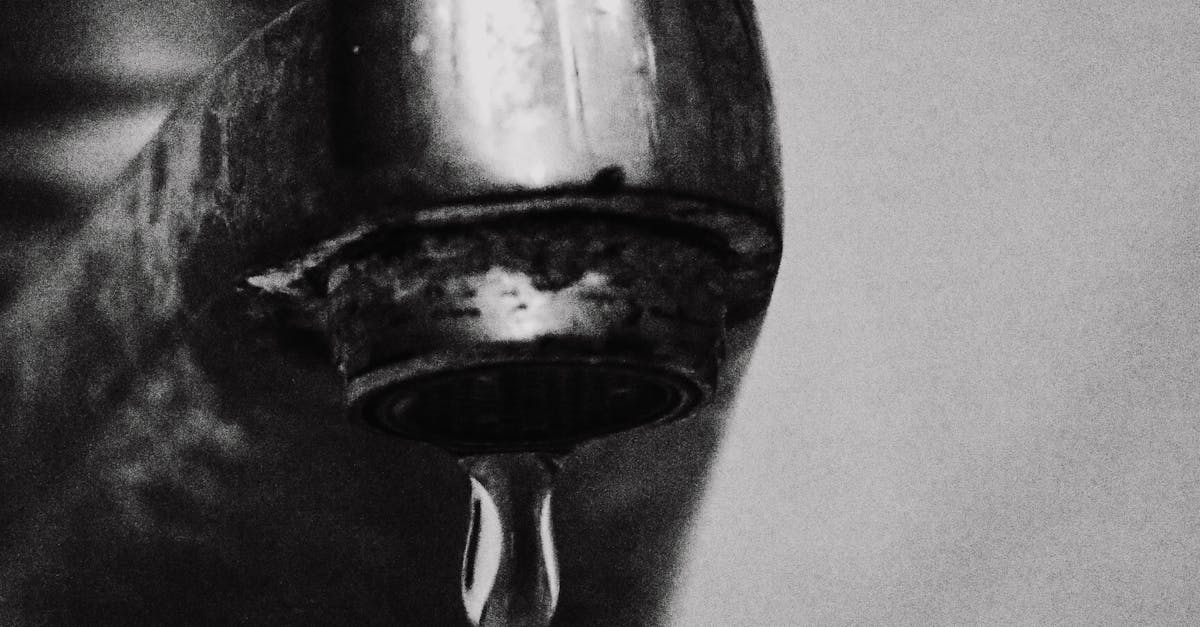
After reassembling the tap, it's essential to test for leaks to ensure the repair was successful. Begin by turning the water supply back on slowly, allowing water to flow into the taps. Check all joints and connections, paying close attention to the area around the newly installed parts. Even a small drip can indicate a lingering issue, so it's important to observe everything carefully during this initial phase.
If you notice any signs of leaking taps, it might be necessary to tighten the fittings or apply additional plumber’s tape to create a better seal. Sometimes, leaks can be a result of misaligned components, so inspecting the assembly once more can be beneficial. Allow the tap to run for a few minutes to confirm that no water escapes from any part of the joint. Regular monitoring is wise, as leaks can develop over time even after a successful repair.
How to Check If the Repair Worked
After reassembling the tap and ensuring all parts are securely fitted, it is essential to test for leaks. Start by turning the water supply back on slowly. Observe the area around the joint and any connecting sections for signs of water dripping or pooling. If no leaks are evident, it suggests a successful repair. However, if water begins to escape, further adjustments may be needed.
Leave the tap running for a few moments while you monitor for any persistent leaks. Pay close attention to the faucet handle and base. Occasionally, leaking taps can display delays in showing water escape, so patience is key. If water continues to flow from the repaired joint, you may need to disassemble the tap again and inspect the seals or washers for proper placement and condition.
FAQS
What are the common causes of a leaking tap joint?
Common causes of a leaking tap joint include worn washers, damaged O-rings, loose connections, and corrosion in the components of the tap.
How do I know if I need to replace the entire tap?
If you have replaced the damaged parts and the tap is still leaking, or if the body of the tap is corroded and beyond repair, it may be time to replace the entire tap.
What tools do I need to fix a leaking tap joint?
You will typically need a wrench, screwdrivers, a basin wrench, pliers, and possibly a replacement washer or O-ring, depending on the specific issue.
How can I tell if my repair was successful?
After reassembling the tap, turn the water supply back on and check for any leaks. If there are no drips or water escaping the joints, your repair was likely successful.
Are there any tips for ensuring a tight seal when reassembling the tap?
Yes, make sure to clean all surfaces thoroughly before reassembling, use plumber’s tape on threaded connections, and tighten all fittings securely without overtightening, which can cause damage.