Table Of Contents
Replacing Washers and ORings
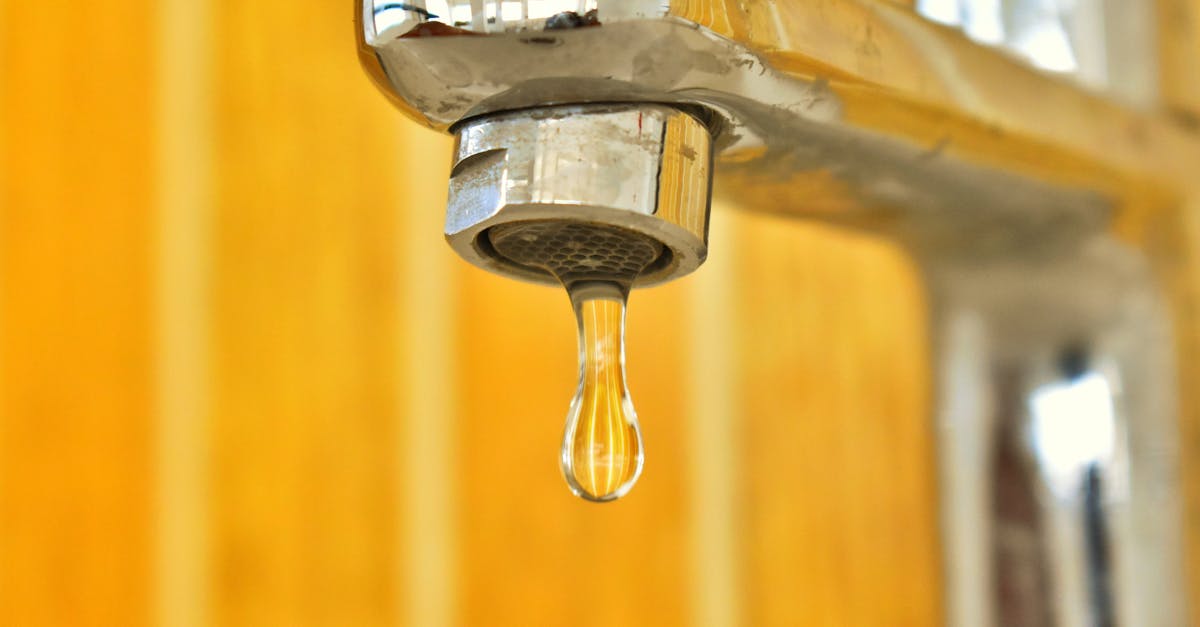
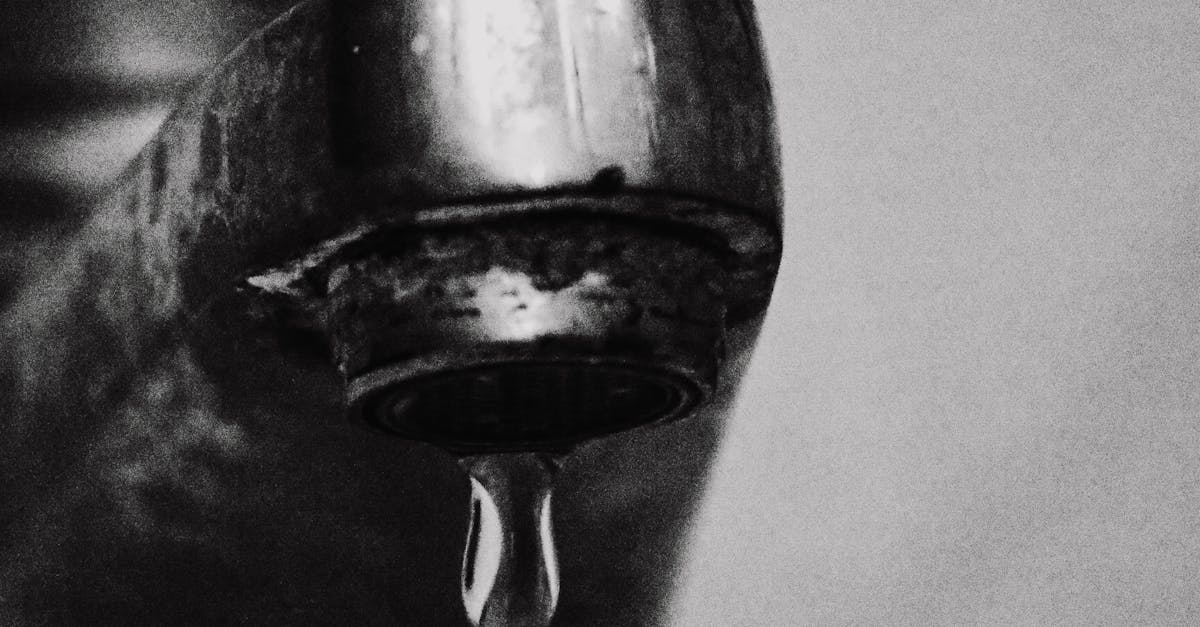
Leaking taps are commonly caused by worn-out washers or O-rings, which are essential components for creating a watertight seal. Over time, these parts can degrade due to constant exposure to water and pressure, resulting in drips and leaks. To effectively replace them, you'll first need to turn off the water supply and disassemble the tap. This typically involves removing a handle or cover, depending on the type of tap you have, to access the internal components.
Once you've gained access, carefully inspect the existing washers and O-rings for signs of wear or damage. It's advisable to take the old parts to a hardware store to ensure you select the correct size and type for your specific tap model. After acquiring the new washers or O-rings, installation is straightforward. Simply replace the worn parts and reassemble the tap. This simple DIY task can significantly reduce water wastage and save on your water bill.
Selecting the Right Replacement Parts
When dealing with leaking taps, selecting the right replacement parts is crucial to ensure a long-lasting repair. Start by identifying the type of tap you have. Compression taps generally require washers and O-rings, while cartridge taps need new cartridges. It's essential to take the old parts to the hardware store to find an exact match, as even slight variations can lead to ongoing issues.
In addition to size and type, pay attention to the material of the replacement parts. Rubber washers are common, but some taps may benefit from using silicone options for enhanced longevity. Ensure that the replacement parts you choose are compatible with your tap's specifications to prevent further leakage. Proper selection will not only fix the immediate problem but can also enhance the overall performance of your tap system.
Fixing Compression Taps
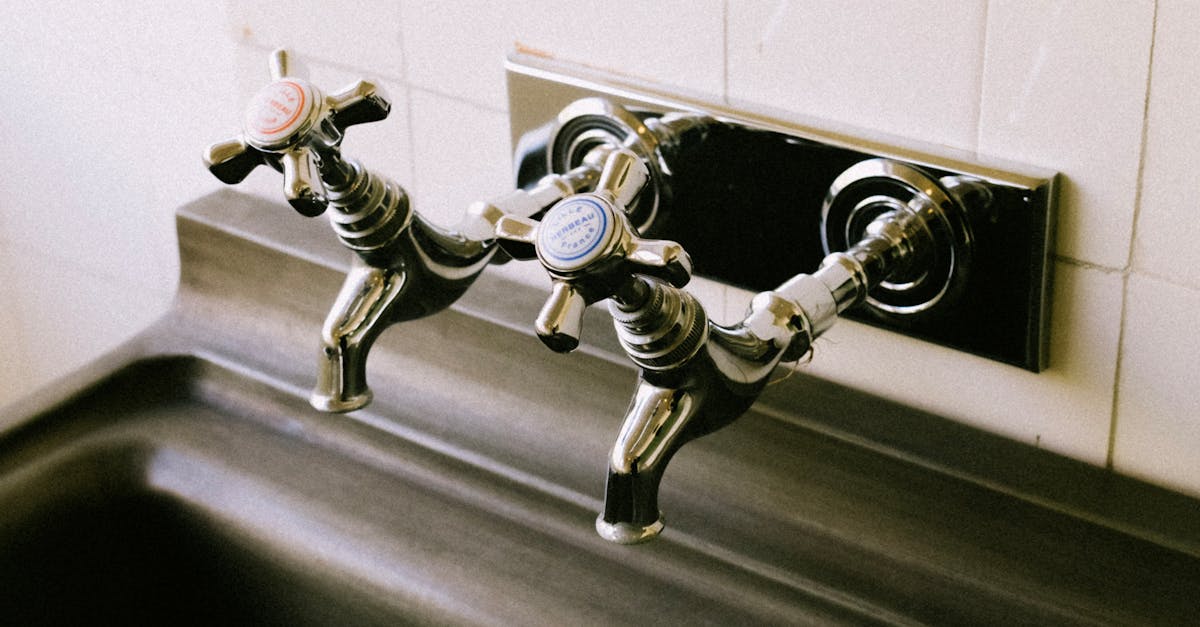
Fixing compression taps involves identifying the source of the leak, which typically stems from worn-out washers or seals. To begin the process, turn off the water supply to prevent any further leakage. Remove the tap handle and unscrew the packing nut to access the internal components. Inspect the washers for signs of wear and deterioration. It's common for leaking taps to require new washers, which you can purchase from any hardware store.
Once you've replaced the washers, reassemble the tap in reverse order. Ensure that everything is tightened properly to prevent any further leaks. It's also a good idea to test the tap after reassembly by turning the water supply back on gradually. Check for any persistent drips or leaks, which may indicate that additional adjustments are necessary. Regular maintenance can help in avoiding future issues with leaking taps.
Techniques for Efficient Repairs
Efficient repairs to leaking taps often involve a systematic approach. Begin by turning off the water supply to prevent further leakage. Collect essential tools such as a wrench, screwdriver, and pliers. Organising your workspace helps maintain focus and speed, allowing you to locate items like screws and washers easily while working.
Identifying the type of tap is critical to ensuring the right techniques are applied. For compression taps, removing the handle and inspecting the washer is essential, while cartridge taps require a different method for cartridge replacement. Keeping the repairs straightforward will save time and effort in the long run, reducing the chances of future issues with leaking taps.
Dealing with Cartridge Taps
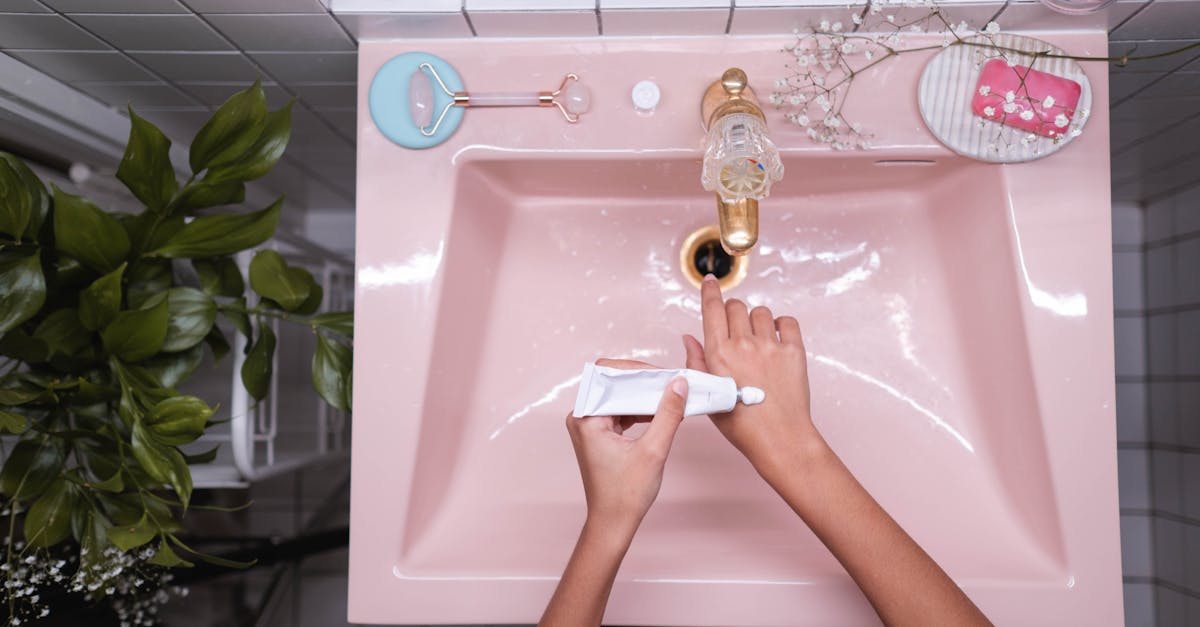
Cartridge taps are a common fixture in many homes, often chosen for their ease of use and sleek design. When you encounter leaking taps of this type, it’s important to diagnose the issue accurately. In most cases, the problem stems from a worn-out or damaged cartridge. This component controls the flow of water and can degrade over time, leading to leaks.
To tackle the repair, you will first need to turn off the water supply and relieve any pressure by opening the tap. Once that’s done, remove the tap handle and access the cartridge. Different models may require specific tools for removal, such as pliers or a cartridge puller. After extracting the old cartridge, it is essential to replace it with a compatible new one to ensure a proper fit and function.
How to Replace a Cartridge
To replace a cartridge in a tap, first, ensure the water supply is turned off to avoid any further leaks. Remove the handle by locating the screw, which is often hidden under a decorative cap. Once the handle is off, carefully unscrew the retaining nut that holds the cartridge in place. Pull the old cartridge out gently, taking note of its orientation for proper installation of the new one. Leaking taps can often be traced back to worn cartridges, making this step crucial for a successful fix.
After removing the old cartridge, align the new one with the existing plumbing. It should fit snugly into place, mirroring the original cartridge's orientation. Secure the cartridge by tightening the retaining nut, ensuring it is snug yet not overly tight to avoid damage. Reattach the handle and restore the water supply. Turn the tap on and check for leaks. This straightforward process can significantly reduce instances of leaking taps, ultimately saving both water and money.
FAQS
What basic tools do I need to fix a leaking tap?
The basic tools you'll need include an adjustable wrench, screwdrivers (both flathead and Phillips), pliers, and a replacement washer or O-ring, depending on the type of tap you're repairing.
Do I need any special tools for cartridge taps?
Yes, in addition to the basic tools, you may need a cartridge puller or a specific socket wrench to remove the cartridge, as some models require special tools for proper extraction.
How can I tell what type of tap I have?
You can identify your tap type by examining the handle and the way it operates. Compression taps usually have separate hot and cold handles, while cartridge taps typically have a single lever or dual handles that turn smoothly.
Are there any tools specifically for replacing washers and O-rings?
While no specific tools are required solely for replacing washers and O-rings, a small flathead screwdriver can help in removing the old parts, and an adjustable wrench is useful for tightening everything back together.
Is it necessary to turn off the water supply before fixing a tap?
Yes, it is essential to turn off the water supply before starting any repairs to avoid water damage and to make the repair process easier.