Table Of Contents
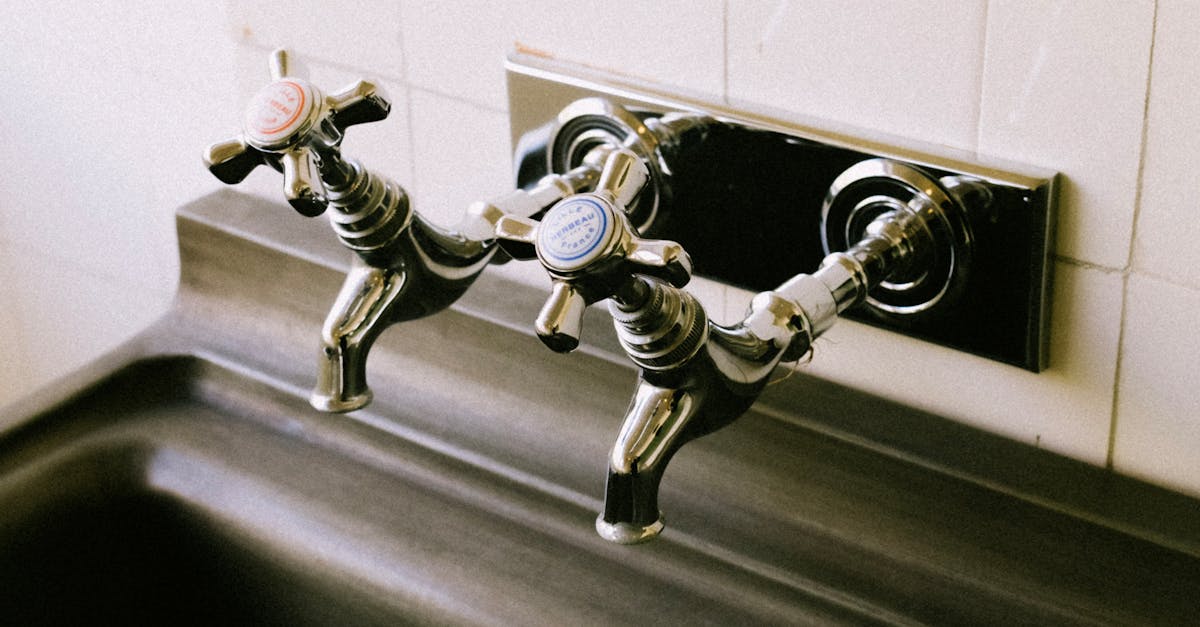
Inspecting the Thread
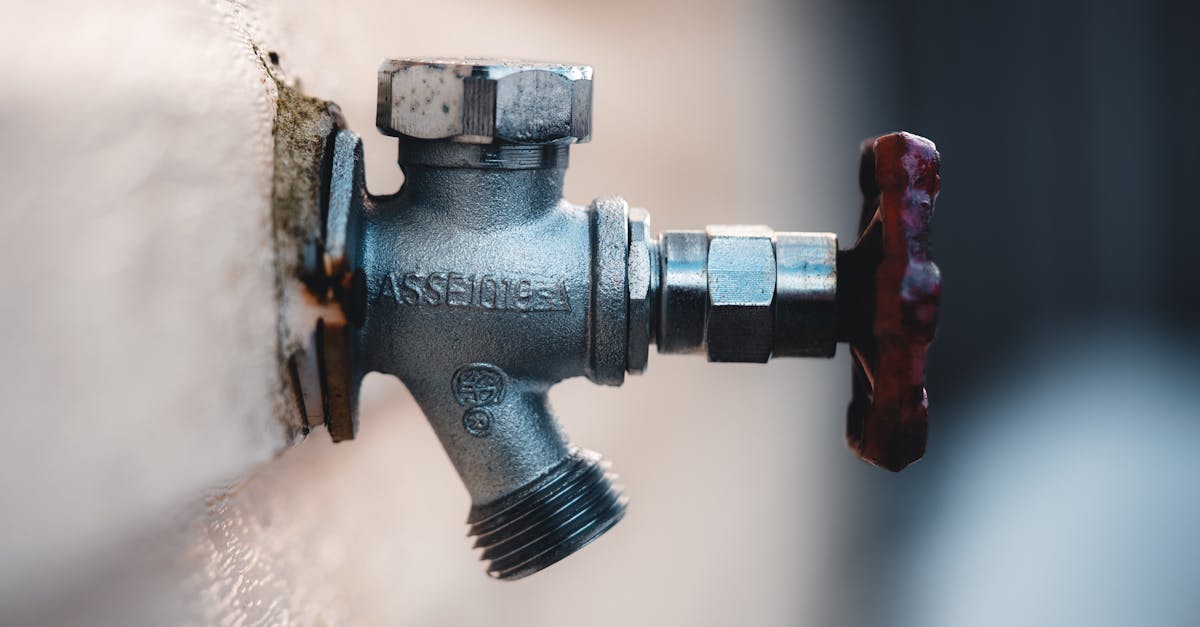
Inspecting the thread is essential when addressing leaking taps. Start by turning off the water supply and disassembling the tap. Look closely at the threads on both the tap and the mating part. Signs of wear, cross-threading or damage can contribute significantly to leaks.
Check for dirt or debris that may have collected on the threads. Even minor obstructions can prevent a secure connection, leading to water escaping from the joint. A thorough cleaning may be necessary to ensure an adequate seal when reassembling the tap.
What to Look For
When dealing with leaking taps, the first step is to inspect the threads for any visible damage. Look for signs of wear, such as cracks, nicks, or stripped threads, which can compromise the seal. Even minor imperfections in the threading can lead to persistent leaks, so it's essential to conduct a thorough examination. Pay close attention to the areas where the tap connects to the water source, as this is often where leaks originate.
In addition to visible damage, also assess the condition of the existing sealant. Old or deteriorated tape or adhesive can lose its effectiveness over time, increasing the likelihood of leaking taps. If you notice any discolouration or crumbling of the sealant, it’s a clear indicator that it needs replacing. Ensuring that both the threads and sealant are in good condition will help create a more effective barrier against leaks.
Applying Thread Sealant
Applying thread sealant is crucial in preventing leaking taps. Start by choosing the right tape or liquid sealant specifically designed for threaded connections. It’s important to wrap the tape around the threads in the correct direction, aligning it with the way the tap will screw in. Ensure that the tape is applied evenly, without excessive layers that might interfere with the tightening process.
Once the sealant is in place, carefully screw the tap back into its fitting. This step requires attention to detail in achieving a snug fit without over-tightening, which could damage the threads. After reassembling, it’s wise to check for any signs of leakage. Observe the tap during its initial use to confirm that the seal is effective and that it is functioning properly without any leaks.
How to Properly Seal the Threads
To properly seal the threads and prevent leaking taps, start by choosing an appropriate thread sealant. Options include Teflon tape or liquid thread sealants designed for plumbing applications. If using Teflon tape, wrap it around the threads in a clockwise direction. This ensures that the tape adheres properly and does not unravel when the tap is screwed back on. Use enough tape to fill any gaps, but avoid over-wrapping, which can create a bulge and hinder the sealing process.
Once the tape or sealant is applied, carefully screw the tap back into place. Ensure that you do not overtighten, as this can damage the threads and still lead to leaking taps. Use a wrench for extra torque if necessary, but be cautious not to exert too much pressure. After reassembling the tap, turn on the water and check for any leaks. It's important to monitor the area over the next few days to ensure that the seal holds and no further adjustments are needed.
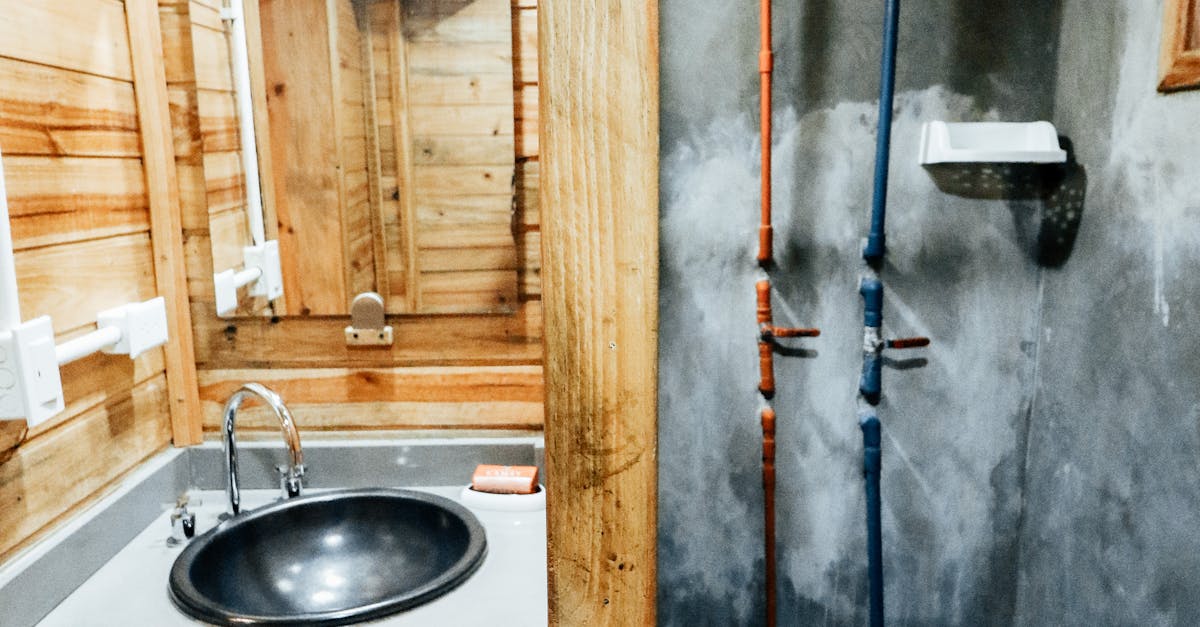
Reassembling the Tap
Once the thread sealant has been applied and allowed to set as per the manufacturer’s recommendations, it is time to reassemble the tap. Start by carefully aligning all components, ensuring that the washers and O-rings are in their correct positions. This step is crucial as misalignment can lead to further complications, including leaking taps. Tightening the connecting pieces should be done uniformly to avoid uneven pressure on the joints.
With all parts in place, use a wrench to screw the fixtures back together, making sure not to over-tighten. Over-tightening can strip the threads or damage the components, increasing the likelihood of leaks in the future. Once reassembled, turn on the water supply and check for any signs of leaking taps. It’s essential to monitor the area for a few minutes to ensure everything functions smoothly without any water escaping from the joints.
Ensuring a Tight Fit
Achieving a tight fit is crucial to prevent leaking taps from becoming a recurring issue. Begin by thoroughly cleaning the threads on both the tap and the corresponding fitting. Any debris or remnants of old sealant can interfere with the connection. Ensure that both surfaces are dry and free from dirt, as this will establish a more secure bond when the tap is reassembled.
Once the surfaces are prepared, gently tighten the connection, being cautious not to overdo it. Excessive force may cause damage to the threads. If you detect any resistance while tightening, it may indicate misalignment in the fittings, which requires adjustment before proceeding. Regularly checking connections can help maintain a leak-free environment, allowing for peace of mind regarding your plumbing.
FAQS
What are the common causes of a leaking tap thread?
Common causes include worn or damaged threads, improper installation, or the absence of a sealing agent.
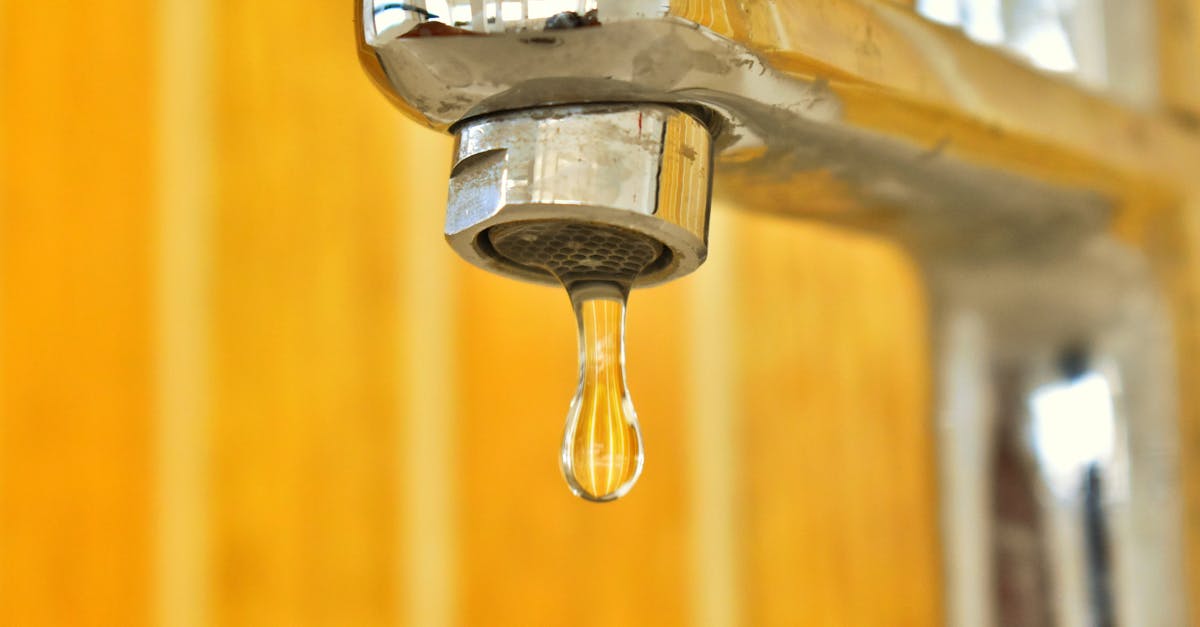
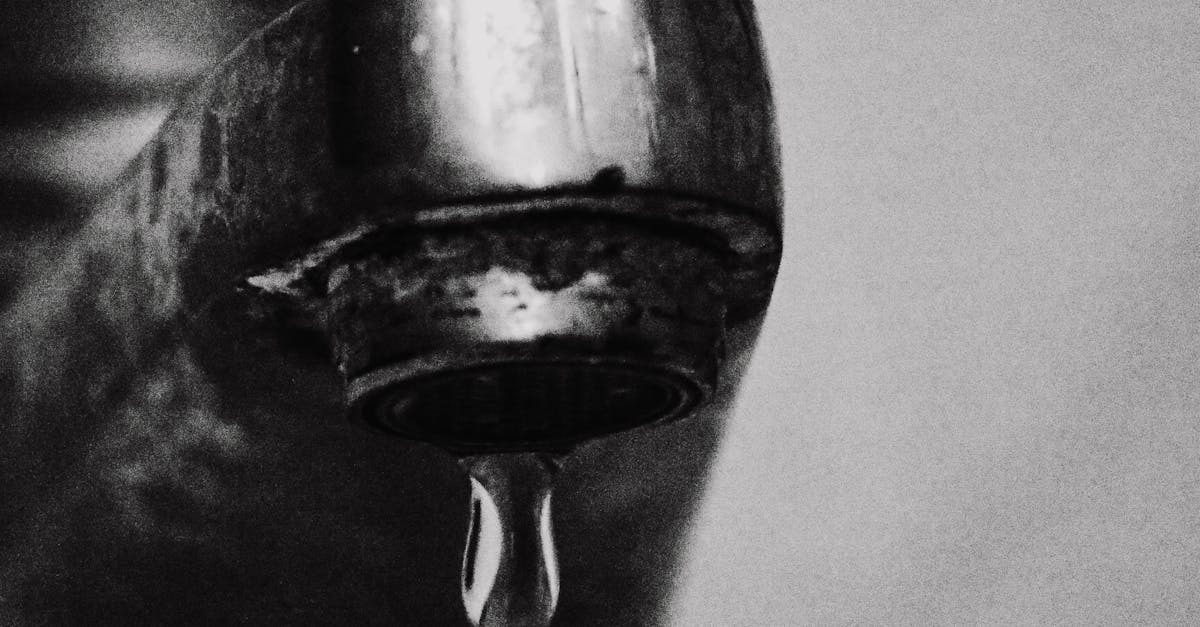
How can I identify if my tap thread is leaking?
Look for water dripping around the tap base, dampness on surrounding surfaces, or a constant pooling of water.
Can I use any type of thread sealant for my tap?
It’s best to use a thread sealant specifically designed for plumbing applications, such as Teflon tape or pipe joint compound, to ensure a proper seal.
What is the best method to apply thread sealant on my tap?
Clean the threads thoroughly, wrap Teflon tape around the threads in a clockwise direction, or apply pipe joint compound evenly, then reassemble the tap to ensure a tight fit.
How often should I check my tap threads for leaks?
It’s a good practice to inspect your tap threads regularly, especially if you notice changes in water pressure or if you’ve recently done maintenance work.