Table Of Contents
Replace Damaged Parts
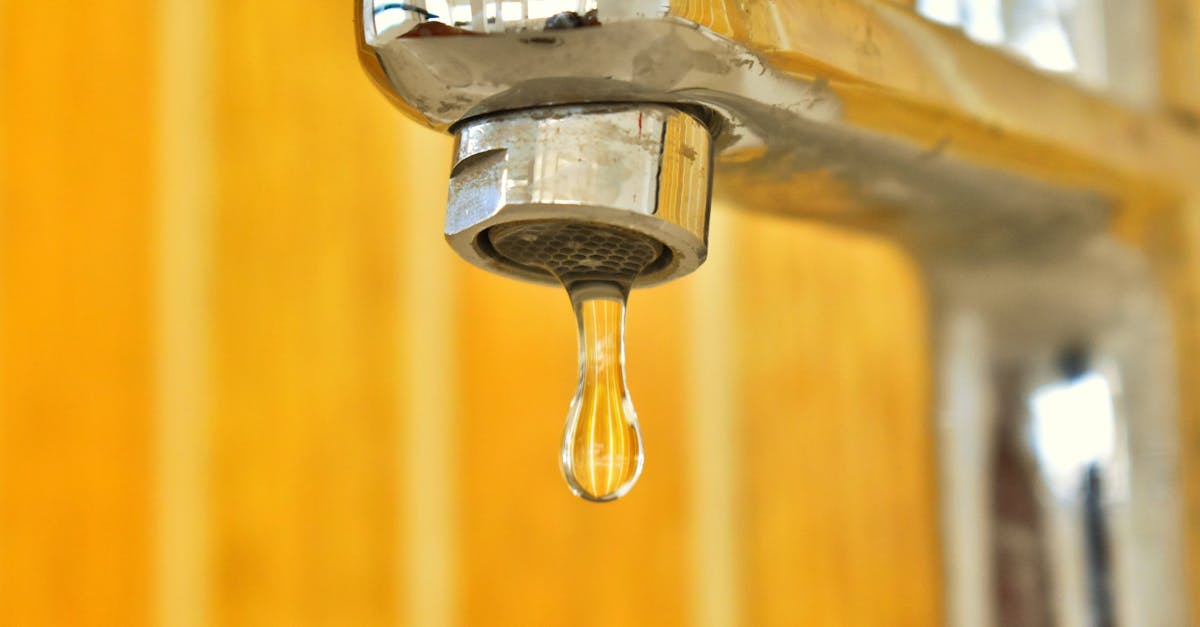
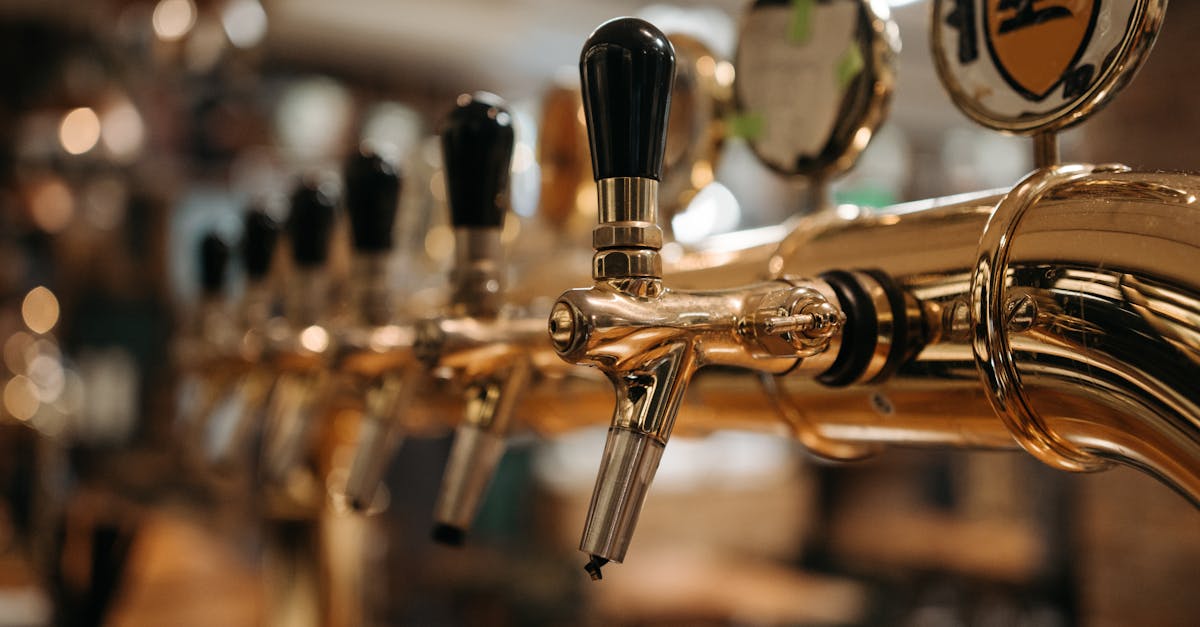
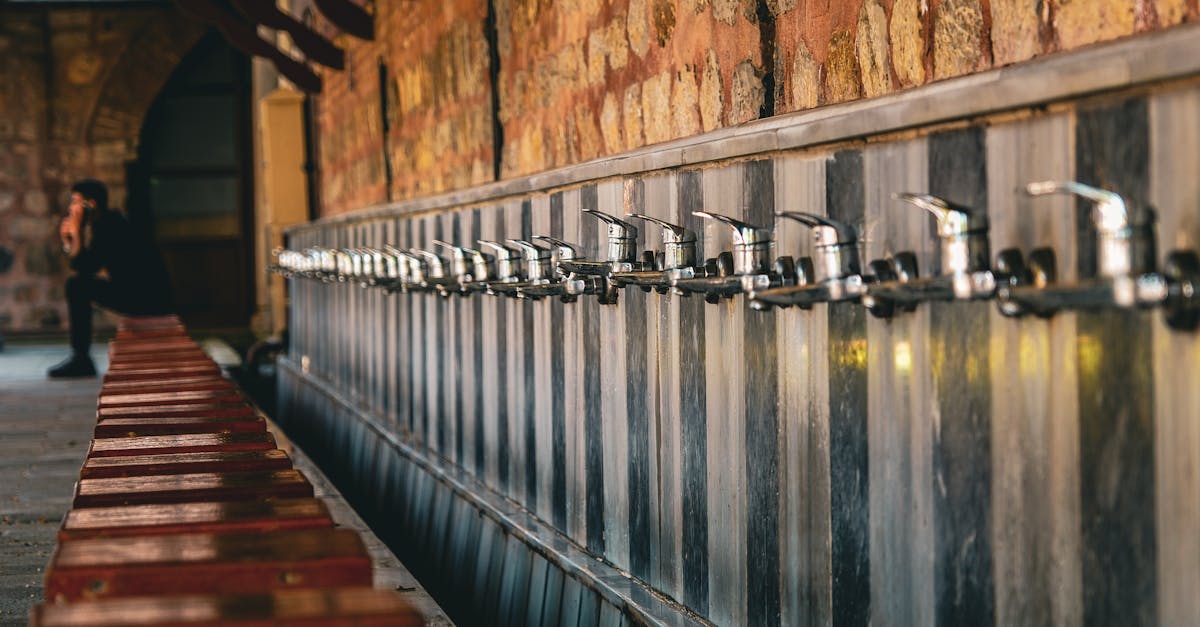
Leaking taps can often be traced back to worn-out components that need replacing. Common parts that may require replacement include washers, O-rings, or cartridges. Evaluating the condition of these components is crucial before proceeding with repairs. If you find visible wear, deterioration, or mineral build-up, it’s time to replace them. Always ensure you have the correct size and type of replacement part for your specific tap model to avoid further issues.
In addition to washers and O-rings, pay attention to seals and springs, which may also be contributing to the leak. Obtaining genuine parts can significantly enhance the longevity and performance of your taps. It is advisable to visit a plumbing supply store or consult with a professional for accurate recommendations. Once all damaged parts are replaced, you can move on to the reassembly process, ensuring that components fit together snugly to prevent future leaks.
Choosing the Right Replacement Components
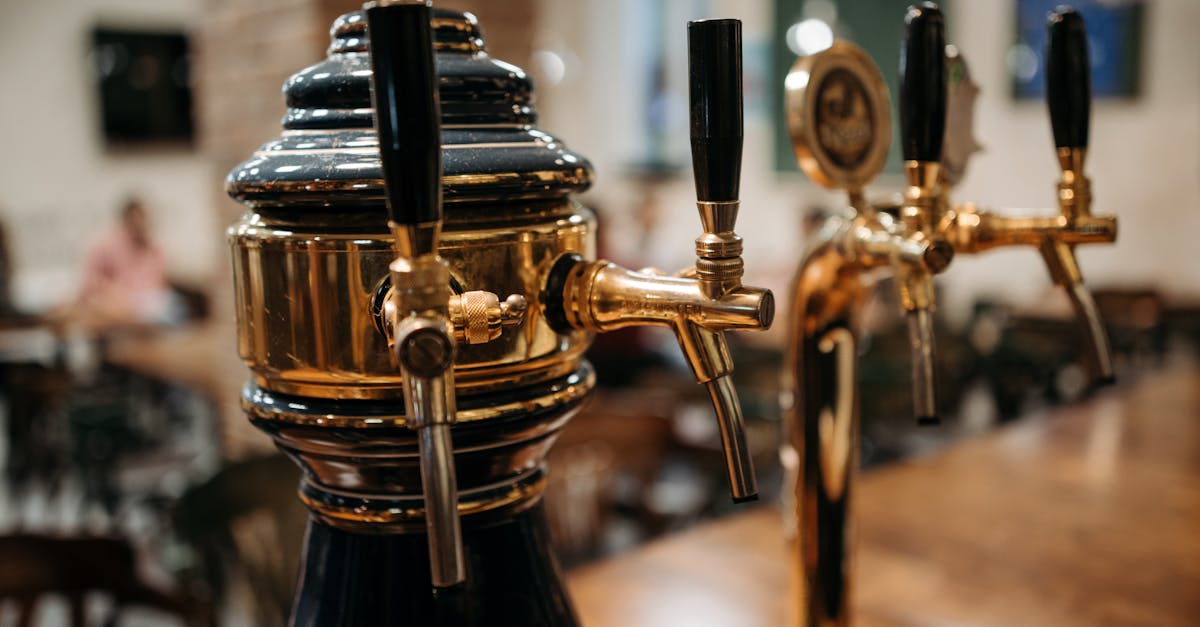
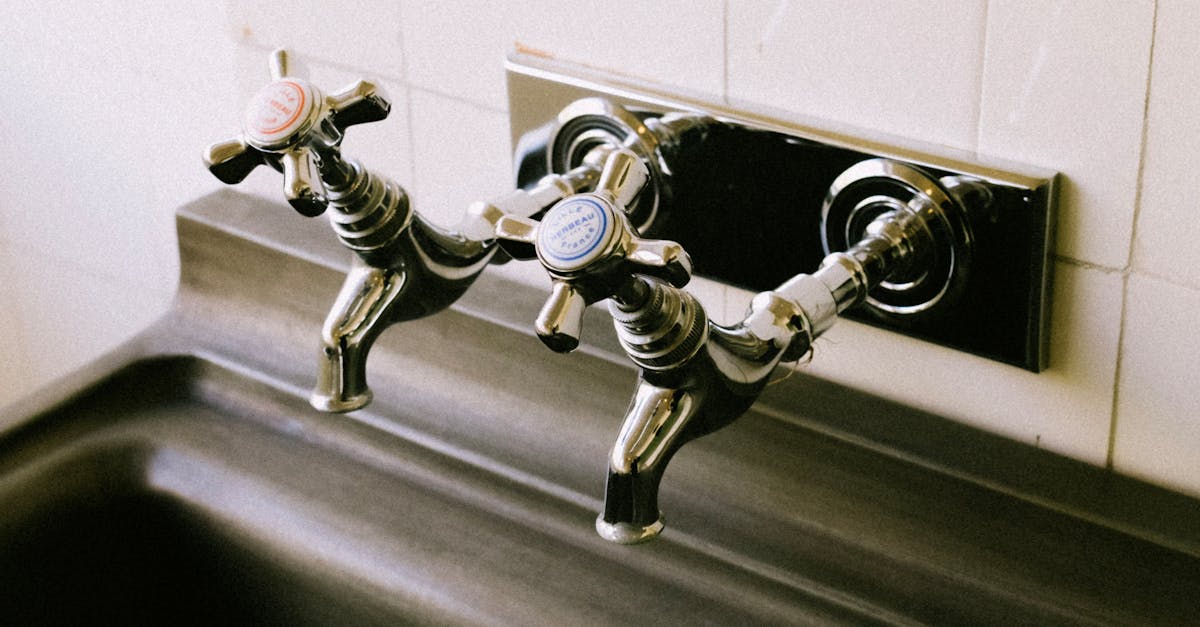
When dealing with leaking taps, selecting the right replacement components is crucial for a successful repair. Start by identifying the specific type of tap you have, as different models often require unique parts. It's beneficial to take the old components along when shopping, ensuring you find an exact match or suitable alternative. Pay attention to the material of the replacement parts; choosing high-quality materials can increase the longevity of your repair and reduce the likelihood of future leaks.
Another important factor is the size and specifications of the components. Many taps have specific brands and models that require particular fittings. If you're unsure, consulting with a local hardware store or plumbing professional can provide valuable insight. Opting for original manufacturer’s parts is often recommended, as they are designed to fit perfectly and work efficiently. With the correct parts in hand, you'll be well-equipped to tackle the repair of your leaking taps.
Reassemble the Faucet
Reassembling the faucet involves carefully putting together the components you disassembled earlier. Start by ensuring that all parts are clean and dry. Position the internal components in their proper locations, taking care to follow any diagrams or notes made during disassembly. This process is crucial, especially when dealing with leaking taps where incorrect assembly could lead to further issues.
Once you have placed all parts correctly, secure them gently without overtightening. Over-tightening can damage the fittings or the washer, which may result in continued leaks. After ensuring everything is fitted snugly, replace the faucet handle and any decorative covers. It’s essential to follow this process meticulously to avoid recurring problems associated with leaking taps.
Proper Techniques for Reassembly
When reassembling a faucet, ensure that each component fits snugly and is aligned correctly. Begin by placing the washer and the O-ring in their designated spots, as improper positioning can lead to leaking taps. Carefully tighten screws and nuts without applying excessive force, which can cause damage to the fittings. Pay attention to the sequence of assembly, so you don't miss critical steps that might leave gaps or allow for movement.
After securing all parts, it’s crucial to reattach any decorative elements, making sure they do not interfere with the functionality of the faucet. Take your time to verify that all pieces are in their correct positions. Proper attention during reassembly can significantly reduce the likelihood of leaking taps after you turn the water supply back on. Test the handle to ensure that it operates smoothly while maintaining stability in all connections.
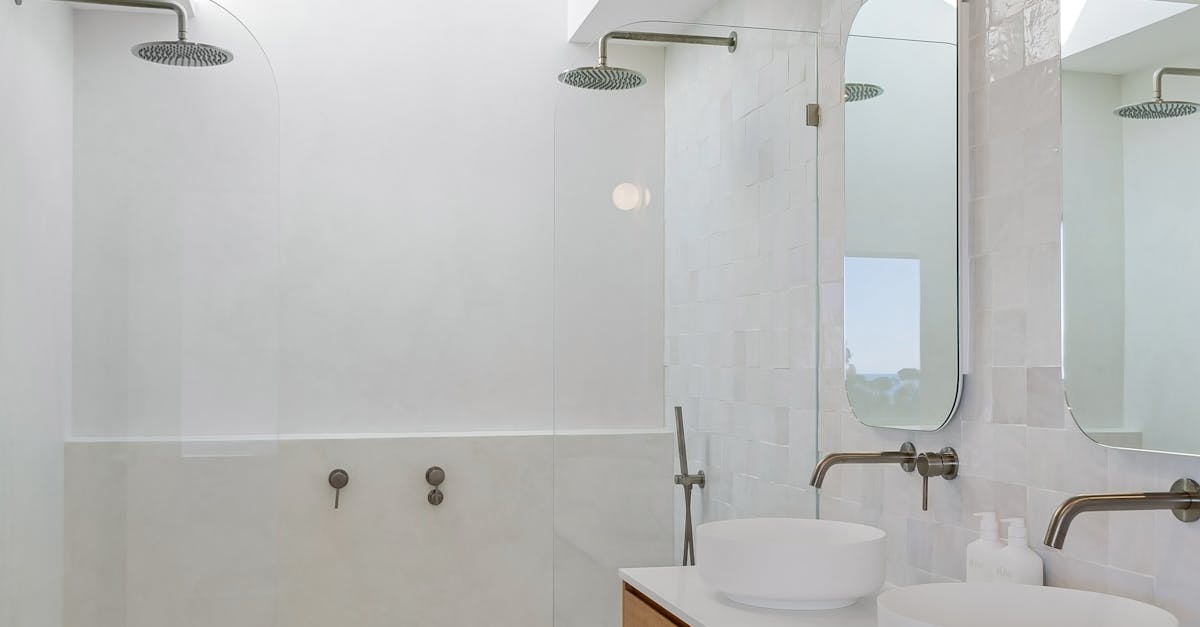
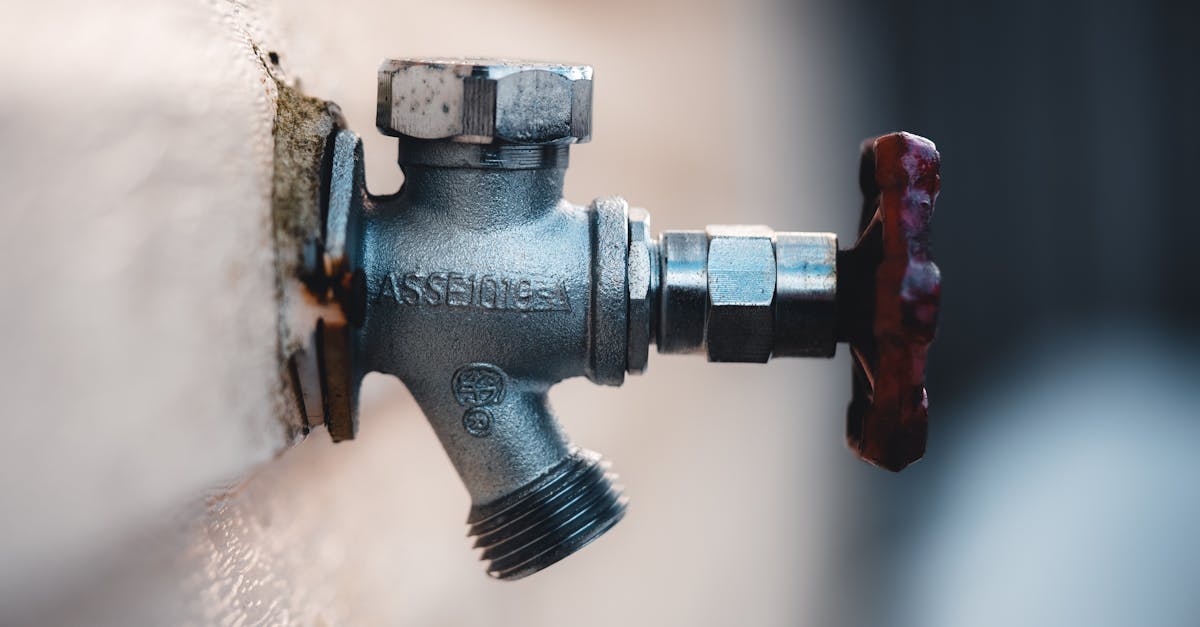
Turn On the Water Supply
Once the faucet has been properly reassembled, the next step involves turning the water supply back on. You should locate the shut-off valve under the sink and rotate it counterclockwise to restore the flow of water. Take your time while performing this step to ensure everything is securely in place. Sudden pressure surges can exacerbate any existing issues, so it is best to proceed cautiously.
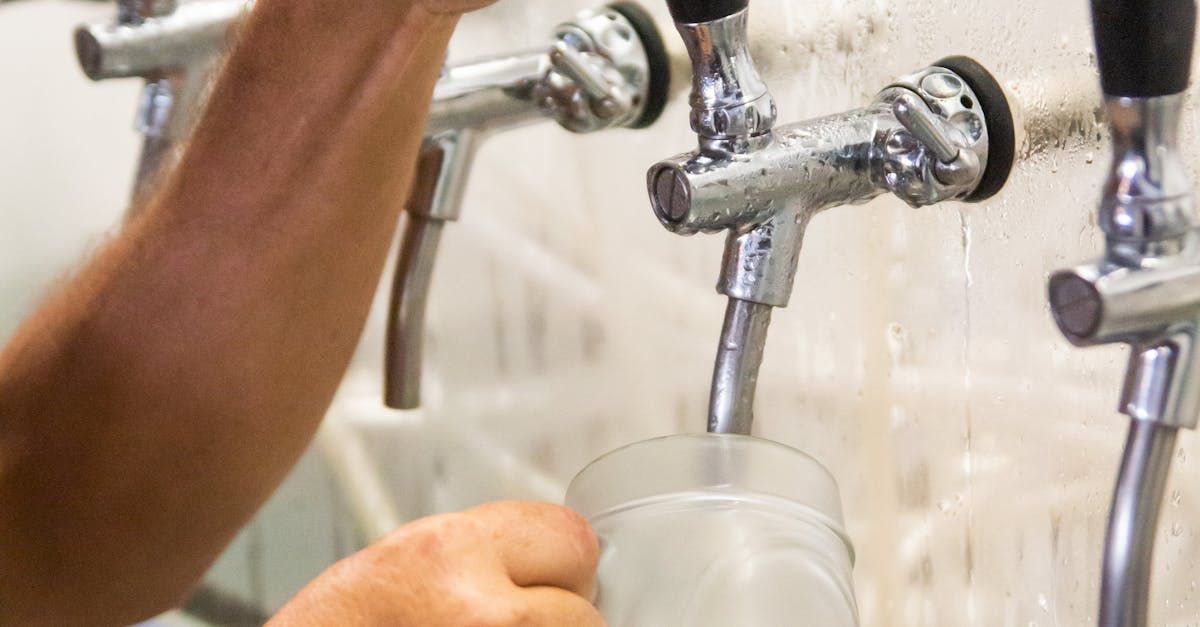
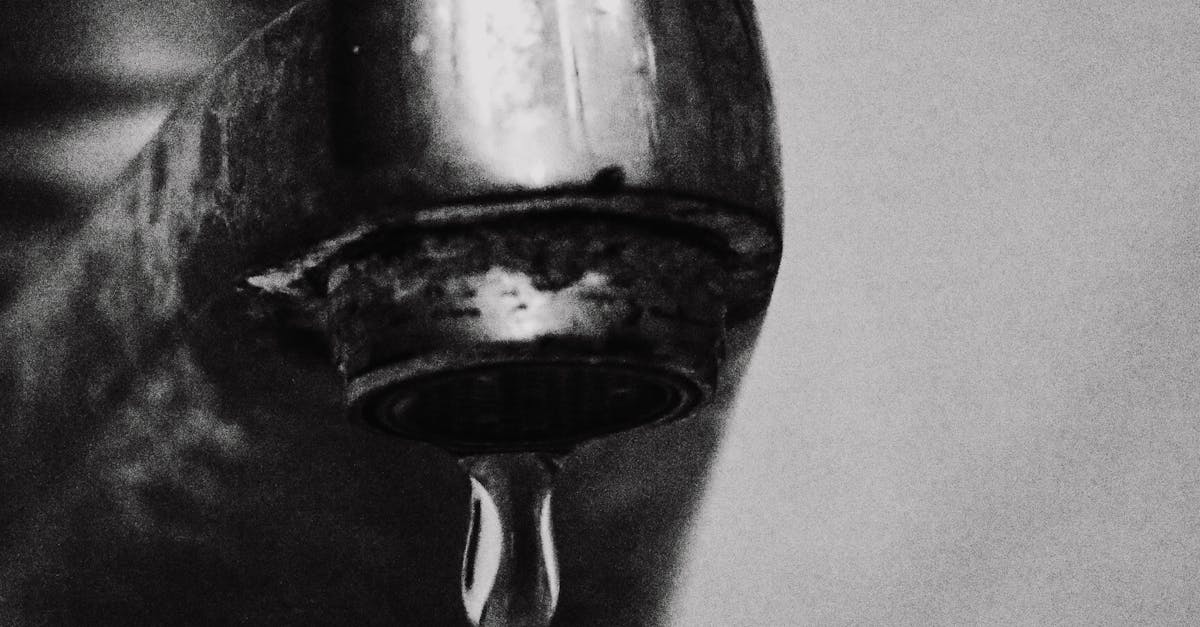
After the water is turned back on, it's essential to check for any remaining leaks. Turn the tap on and let it run for a moment. Pay close attention to the connections and the faucet itself. Leaking taps can often be identified quickly, allowing you to address any problems before they escalate. If you notice any drips or puddles, you may need to re-examine your work to ensure that all components were installed correctly.
Checking for Leaks After Reassembly
After reassembling the faucet, it is essential to ensure everything is functioning correctly. Begin by turning on the water supply slowly. Observe the faucet closely for any signs of leakage. Pay particular attention to the areas where the components were reattached, as this is where leaks are most likely to occur. If you notice water pooling or dribbles forming, there may still be issues that need addressing.
Leaking taps can often be a source of frustration, but identifying the leak early can prevent more significant problems down the line. If you do detect any leaks, turn off the water supply once again and inspect the components for proper seating. Tightening screws and fittings may help, but be cautious not to overtighten, as this could lead to additional damage. A careful approach ensures that your repairs will hold, keeping the tap reliably leak-free.
FAQS
What are the common causes of tap water leaks?
Common causes of tap water leaks include damaged washers, corroded pipes, loose fittings, or faulty seals. Over time, wear and tear can lead to these issues.
How do I determine which parts of my tap need replacing?
Inspect the tap for signs of damage, such as rust or cracks. You may also want to disassemble the tap to check the washers, O-rings, and cartridges for wear. If they appear worn or damaged, they likely need replacing.
Is it necessary to turn off the water supply before starting repairs?
Yes, turning off the water supply is essential before starting any repairs to prevent further water leakage and ensure safety while you work on the tap.
How can I check for leaks after reassembling the faucet?
After reassembly, turn the water supply back on and check for any drips or moisture around the base of the tap and the connections. If you notice any leaks, you may need to disassemble and recheck your work.
Can I fix a tap water leak myself, or should I call a plumber?
Many minor leaks can be fixed with some basic tools and DIY skills. However, if you are uncomfortable with the repairs or if the leak persists after your attempts, it may be best to call a professional plumber for assistance.