Table Of Contents
Replacing Damaged Parts
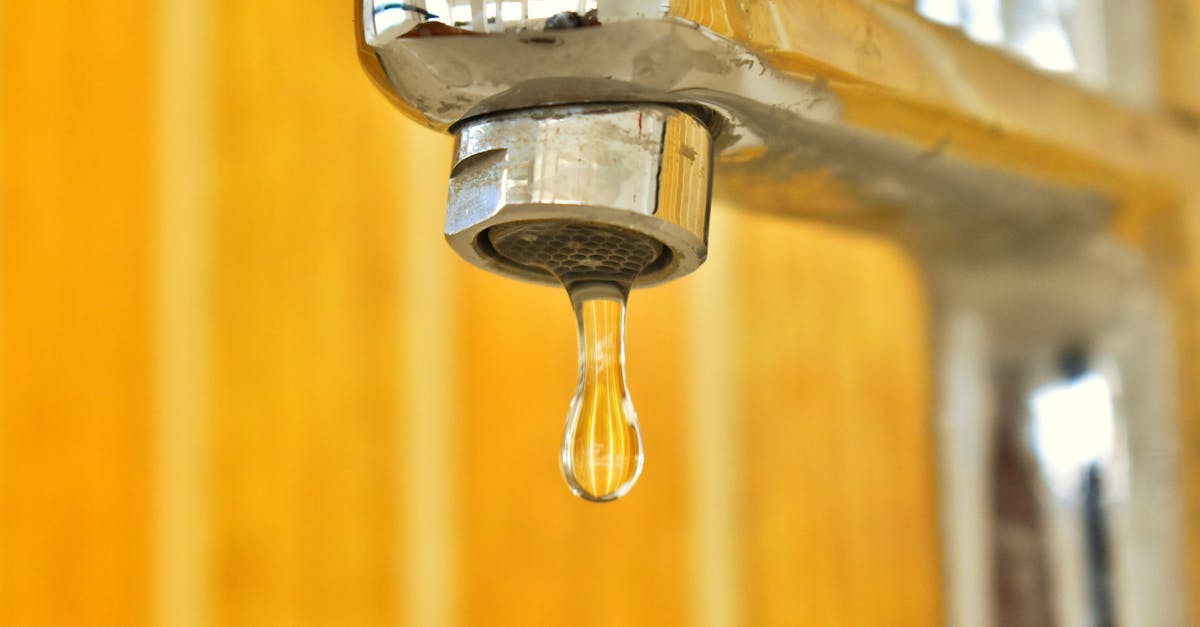
When dealing with leaking taps, the first step is identifying which parts are damaged. Common culprits include O-rings, washers, and cartridges. Inspect these components for wear and tear, as even a small crack or deformation can lead to a persistent drip. If any parts show signs of damage, they should be set aside for replacement to ensure a long-lasting fix.
Once you have determined which parts need replacing, it’s important to source the right replacements. Many hardware stores offer specific parts suited for various tap models. Before making any purchase, check the specifications to ensure compatibility with your tap. Using the correct replacement parts will aid in restoring your tap's function and help prevent future leaking taps.
Choosing the Right Replacement Parts
Selecting the appropriate replacement parts is essential when addressing leaking taps. Consider the specific type of tap you are dealing with, as different models require different components. For instance, compression taps often use washers, while cartridge taps may need a complete cartridge replacement. Understanding the part needed ensures the repair is effective and long-lasting.
It is advisable to take the old parts to a hardware store or plumbing supplier for comparison. This way, you can ensure that the replacement components match in size and design. Additionally, opting for high-quality materials can prevent future leaks, providing peace of mind. Proper research will help avoid the frustration of purchasing incorrect parts and can streamline the repair process.
Reassembling the Tap
Once all damaged parts have been replaced, it’s time to reassemble the tap. Begin by carefully positioning the components back in place, ensuring that washers and O-rings are seated correctly. Tighten screws or nuts by hand first to avoid causing damage to the fittings. Using the appropriate tools, tighten each connection to a snug fit, taking care not to over-tighten as this can lead to new issues. Pay special attention to the orientation of each piece, ensuring that everything aligns properly.
After the tap is fully reassembled, it's crucial to check for leaks. Turn on the water supply slowly while observing the connections for any signs of dripping. Leaking taps can often go unnoticed until they cause further issues, so this step is essential. If leaks are detected, gently tighten the connections. In some cases, a reassembly may need to be revisited, ensuring that each component has been installed correctly and securely, eliminating any possibilities of water escaping.
Proper Techniques for Reinstallation
Reinstallation of the tap requires careful attention to detail. Before securing any parts, ensure the O-ring and washers are properly positioned. This step is crucial as improper placement can lead to leaking taps. When tightening the connections, hand-tighten first to secure the fit, followed by a gentle turn with a wrench to avoid over-tightening, which may cause damage.
Once the tap is reinstalled, check all connections for a snug fit. It’s best to follow the manufacturer's guidelines for specific torque settings if they are provided. After everything is secured, turn the water supply back on slowly while observing for any signs of leaking taps. This method ensures that any potential leaks can be caught early before they become a more significant issue.
Testing for Leaks
Once you have reassembled the tap, testing for leaks is a crucial step. Turn the water supply back on slowly. Observe the connections and the tap itself for any signs of water escaping. It’s advisable to use a dry cloth to spot any dampness around the fittings, as this will help identify any leaks that might not be immediately visible.
If you notice any leaking taps during your inspection, you may need to disassemble the tap again to check the integrity of the seals and washers. Ensure that all components are seated correctly and tightened adequately. Sometimes, a simple adjustment can resolve minor leaks, but in cases of persistent issues, replacing parts may be necessary to achieve a watertight seal.
Ensuring a Secure Connection
After reassembling the tap, it is essential to ensure a secure connection to avoid any further issues. Check that all parts are aligned correctly and tightened as per the manufacturer’s specifications. A loose connection can lead to leaking taps, which may not only waste water but also result in potential water damage over time. Use a wrench or your hands, depending on the fittings, to make sure everything is snug but avoid over-tightening, which can cause damage to the components.
Once everything is securely in place, turn the water supply back on and carefully observe the area around the connections. Look out for any signs of dripping or abnormal moisture. Testing the integrity of the connection is crucial for preventing leaking taps from becoming a recurring problem. If there are no leaks, you can be confident that your repair has been successful, allowing you to enjoy a fully functional tap without the worry of further issues.
FAQS
What are common causes of a leaky tap connection?
Common causes include worn washers, damaged O-rings, corroded pipes, and improper installation of parts.
How do I know if I need to replace a part of the tap?
If you notice persistent leaks, dripping, or if the tap is difficult to turn, it may be time to inspect and potentially replace worn or damaged parts.
Can I fix a leaky tap without professional help?
Yes, many tap repairs can be done by a DIY enthusiast with basic tools and plumbing knowledge. However, if you’re unsure, it’s always best to consult a professional.
What tools do I need to fix a leaky tap?
Basic tools needed typically include a wrench, screwdriver, replacement parts (such as washers or O-rings), and plumber’s tape.
How can I test if my tap connection is leak-free after repairs?
After reassembling the tap, turn the water supply back on and check for any drips or leaks around the connection points. It's important to test while the tap is both on and off.