Table Of Contents
Disassembling the Tap
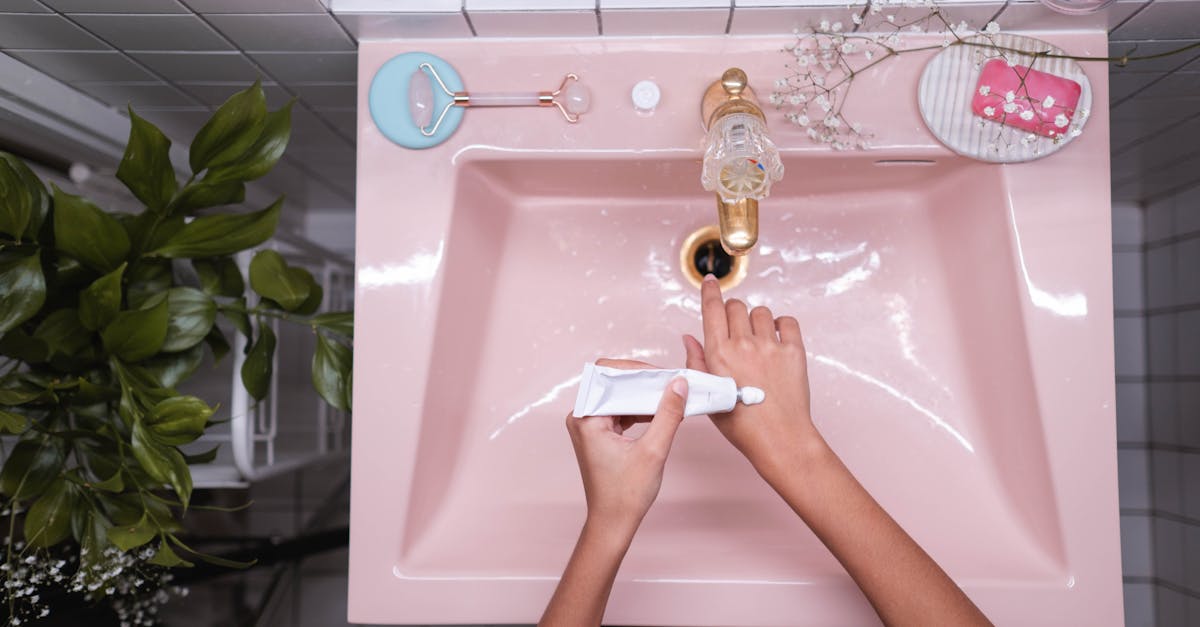
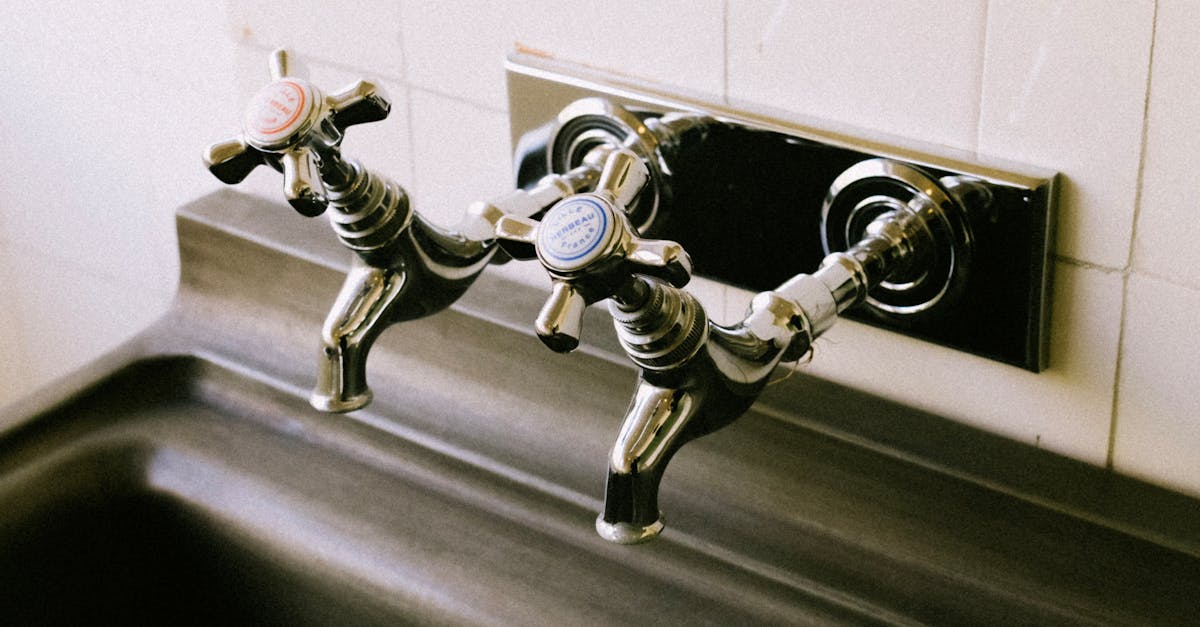
Disassembling the tap is the first crucial step toward addressing leaking taps. Before starting, it's essential to gather the right tools, such as a wrench, screwdriver, and cloth to protect the surface. Turn off the water supply to avoid any mess. Carefully remove the decorative cap if your tap has one, exposing the screws underneath. Use the screwdriver to unscrew and remove the handle. Once the handle is off, you can access the inner components, which may vary depending on the type of tap you have.
With the handle removed, inspect the exposed workings, including screws and retaining nuts. Use the wrench to unfasten any components, taking care not to damage them in the process. Keep all parts organised to facilitate reassembly later. Check for any additional screws or clips that may need to be removed to get to the washer or cartridge inside the tap. Carefully extract these parts and set them aside for inspection, as they can often be the source of leaking taps if worn or damaged.
StepbyStep Guide to Removing Components
To begin disassembling a tap, it is essential to ensure the water supply is turned off at the mains. Gather the necessary tools, including a wrench, screwdriver, and a cloth to catch any drips or debris. Carefully remove any decorative caps on the tap handle to access the screws underneath. Unscrew and lift off the handle, taking note of the configuration as you go. This step is crucial as it sets the foundation for identifying the cause of leaking taps.
Once the handle is removed, you may need to disconnect additional components, such as the retaining nut or the cartridge. Use a wrench to loosen and remove these parts, ensuring you don’t apply excessive force which could cause further damage. Keeping all removed components organised helps during reassembly. After taking out the cartridge or valve, inspect it closely to identify wear and tear, which can often be the source of leaking taps.
Inspecting Washers and Orings
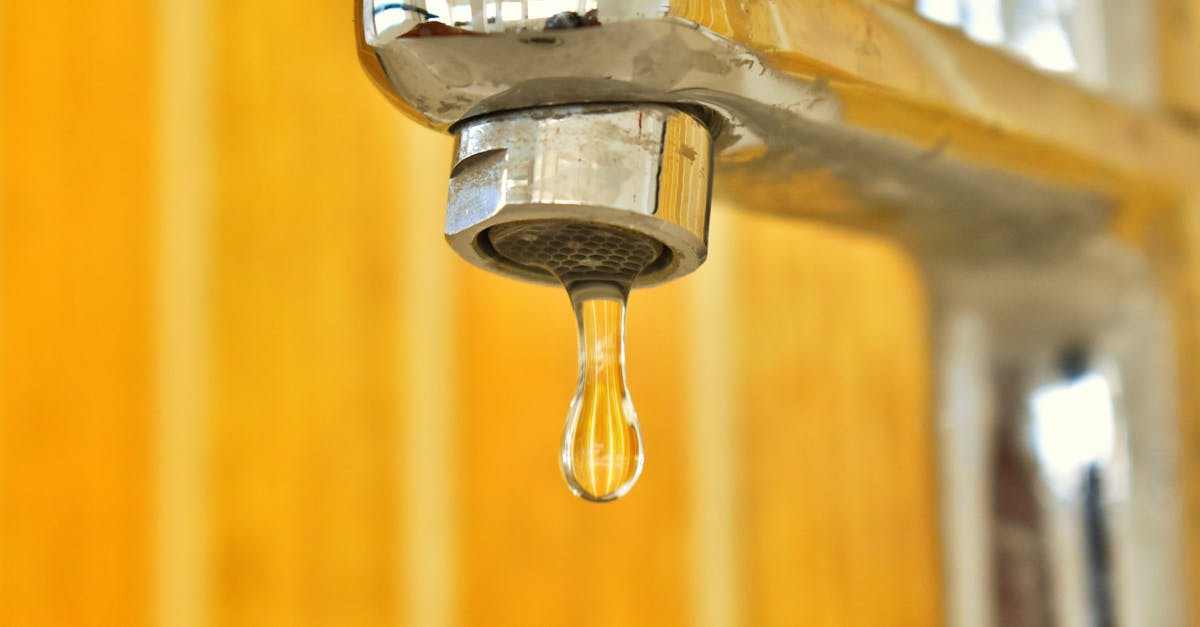
Inspecting washers and O-rings is a crucial step when dealing with leaking taps. These components are often the culprits behind the continuous dripping that can drive anyone to distraction. Begin by carefully examining the washers, which are typically made of rubber or silicone, for any signs of wear or damage. A worn washer may have cracks, tears, or a misshapen appearance, all indicating it needs to be replaced. Similarly, inspect the O-rings, which create seals within the tap assembly. A damaged O-ring can also contribute to leaks, making it essential to check their integrity.
The condition of both washers and O-rings can significantly impact the functionality of your tap. If either component appears brittle or has lost its elasticity, it is time to consider a replacement. Regular maintenance can prevent leaks from becoming a more significant issue. Avoiding leaks not only saves water but also helps maintain the longevity of your tap. By diligently inspecting these parts, you can effectively address the problem of leaking taps before it escalates.
Checking for Wear and Tear
When dealing with leaking taps, checking the washers and O-rings is essential. These components often experience wear and tear over time due to constant exposure to water pressure. Inspect each part for signs of deterioration such as cracks, fraying, or discoloration. A worn washer or O-ring can contribute significantly to the dripping issue, making it crucial to identify any damage.
To perform an effective inspection, remove the tap and closely examine the washers and O-rings. Look for inconsistencies in texture or shape that indicate they need replacement. A thorough assessment will save time and resources later on, ensuring you address the root cause of leaking taps rather than merely treating the symptoms.
Replacing Damaged Parts
When dealing with leaking taps, the first step involves gathering the necessary replacement parts. Typically, these include new washers and O-rings, which can be purchased at local hardware stores or plumbing supply shops. Ensure you select components that match the specifications of your tap model. Having the old parts on hand can be useful for comparison. This step not only helps in acquiring the right size but also aids in understanding the assembly of the tap mechanism.
In the replacement process, carefully remove the old washers and O-rings from their respective positions. Clean the areas where the new components will be installed to ensure a snug fit and prevent any debris from causing further leaks. Once the new parts are in place, reassemble the tap in the reverse order of disassembly. Tighten components gently to avoid damage while ensuring everything is secure. Testing the tap after reassembly will help confirm if the leaking taps issue has been resolved effectively.
How to Install New Washers and Orings
To install new washers and O-rings, start by carefully placing the new washer into the seat of the tap. Make sure it fits snugly to create an effective seal. If you’re replacing O-rings, ensure the old ones have been fully removed from their grooves. Clean the grooves thoroughly before inserting the new O-rings, ensuring they sit evenly all around.
Once the washers and O-rings are in place, reassemble the tap components in the reverse order of disassembly. Tighten all screws and nuts securely, but avoid overtightening as this can cause damage. After reassembly, turn the water supply back on and check for leaks. This process is crucial for fixing leaking taps effectively and restoring proper function.
FAQS
What tools do I need to stop a constant dripping tap?
To stop a constant dripping tap, you typically need a wrench, screwdriver, and replacement washers or O-rings. Depending on your tap type, you may also need pliers or an Allen key.
How can I tell if the washer or O-ring is damaged?
You can tell if a washer or O-ring is damaged by inspecting them for any signs of wear, such as cracks, fraying, or deformities. If they appear worn or do not fit snugly, they likely need replacing.
Is it difficult to change a tap washer?
Changing a tap washer is generally a straightforward process that most DIYers can handle, especially if you follow a step-by-step guide. With the right tools and a bit of patience, it can be completed without professional help.
What should I do if replacing the washer doesn’t stop the drip?
If replacing the washer doesn’t stop the drip, the problem may be more complex, such as a damaged valve seat or an issue with the entire tap. In this case, it may be best to consult a plumber for further diagnosis and repair.
How often should I check my taps for leaks?
It's a good practice to check your taps for leaks every few months. Regular inspections can help you catch any potential issues early and prevent water wastage.