Table Of Contents
Replacing the Valve Seat
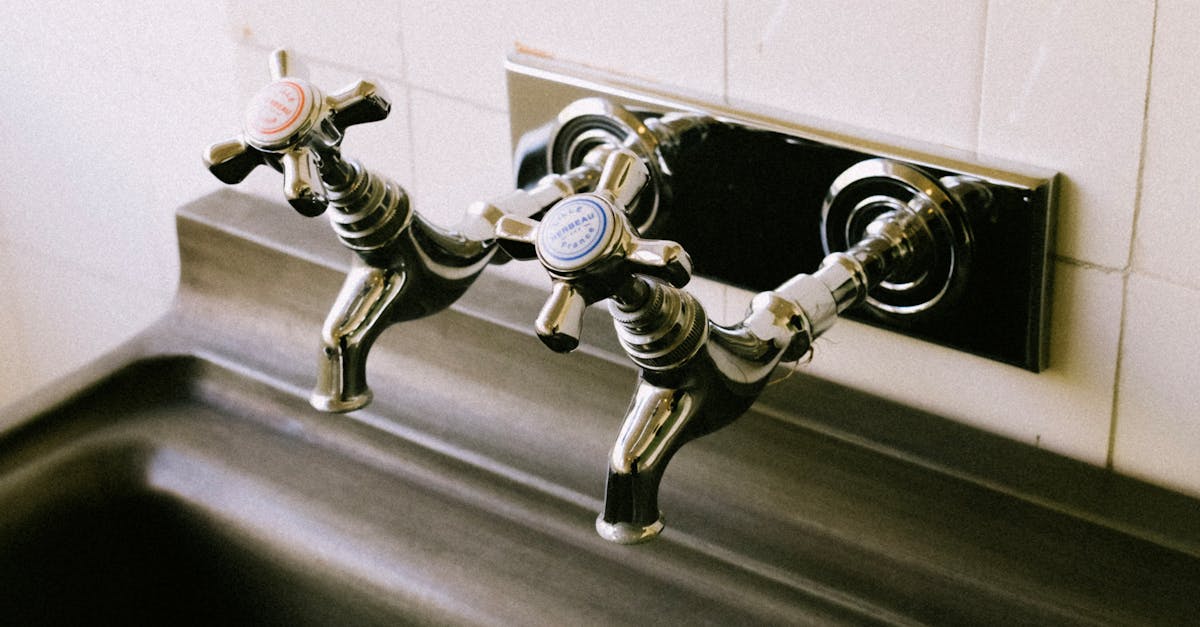
Leaking taps can often be traced back to a worn or damaged valve seat. This component, located inside the tap assembly, is essential for creating a tight seal when the tap is closed. Over time, mineral deposits and general wear can cause the valve seat to corrode or become uneven, leading to persistent leaks. When replacing the valve seat, it’s important to first turn off the water supply and disassemble the tap carefully to avoid causing additional damage.
Once you have access to the valve seat, use a seat wrench or a suitable tool to remove it. Inspect the old seat for signs of wear and compare it to the new one to ensure a proper fit. After installing the new valve seat, it’s advisable to apply plumber’s grease to ensure a smooth operation and a longer lifespan. This not only helps prevent leaking taps but also enhances the overall performance of the tap.
How to Ensure a Proper Seal
Achieving a proper seal is essential for preventing leaks in taps. Before reassembling the tap, ensure that all components are clean and free from debris. Inspect the valve seat for any signs of wear or damage. A smooth surface is necessary to create a watertight seal. If there are any imperfections, consider replacing the valve seat to ensure optimal performance.
After cleaning and inspecting, it is beneficial to use a washer that fits snugly in the tap. The washer acts as a barrier, preventing water from seeping through and causing leaking taps. When tightening the tap assembly, apply firm pressure but avoid over-tightening, which may lead to further leaks. Proper installation techniques will help maintain the integrity of the seal, reducing the likelihood of future issues.
Using Plumber’s Grease
Using plumber’s grease can significantly enhance the longevity and functionality of your taps. This lubricant acts as a protective barrier against wear and corrosion. When applied to rubber washers and O-rings, it creates a seal that can prevent leaking taps from becoming a persistent issue. Its water-resistant properties ensure that the grease remains effective even in moist conditions, which is essential for maintaining a leak-free environment.
Regular application of plumber's grease can also make future repairs easier. The lubricated components are less likely to seize, allowing for straightforward disassembly when maintenance is required. By investing in this simple yet effective solution, you can enjoy smoother operation of your taps while reducing the risk of leaks. Keeping your fixtures well-maintained will ultimately save you from the hassle and expense of frequent repairs due to leaking taps.
Benefits of Lubrication for Tap Longevity
Lubricating your taps can significantly enhance their longevity, preventing issues like leaking taps from arising in the first place. When appropriate lubrication is applied to the moving parts, it creates a protective barrier that guards against corrosion and wear. This protective layer ensures that the internal components function smoothly, reducing the likelihood of friction, which often leads to damage over time.
Regular application of plumber's grease can also improve the overall performance of your taps. By maintaining the seals and washers in optimal condition, lubrication helps to minimise the chances of leaks developing. With reduced wear and tear, you are more likely to enjoy a prolonged lifespan for your taps, making lubrication an essential part of home maintenance.
Testing for Residual Leaks
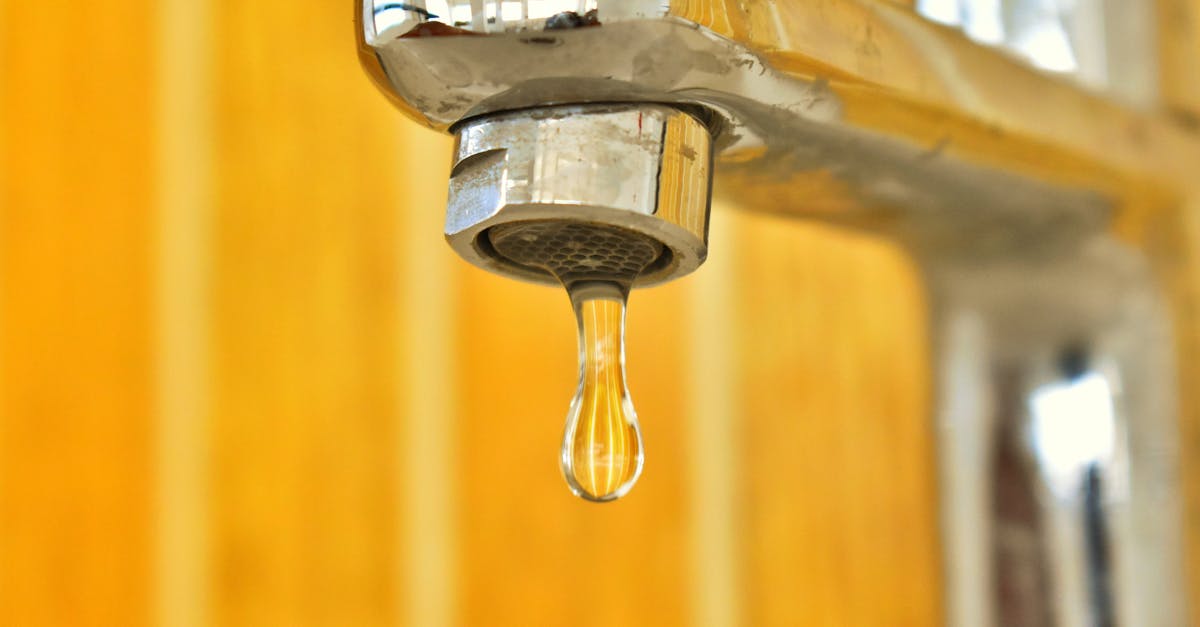
After repairing your taps, it’s essential to test for residual leaks to ensure that the issue has been fully resolved. Start by turning the water back on and observing the area around the tap. Look for any signs of dripping or moisture, as these can indicate that the repair wasn’t successful or that another issue may be present. Take your time during this process, as a small leak can often be overlooked when making quick visual checks.
In addition to a visual inspection, you may want to place a dry cloth under the tap while it’s running. This will help you identify any drips that may not be immediately visible. If the cloth becomes wet after a short period, it’s a clear sign that your taps are still leaking. Addressing leaking taps promptly not only conserves water but also prevents potential damage to surrounding areas, such as cabinets or flooring.
Methods to Confirm a Successful Repair
After completing your repair, it's essential to test for any residual leaks. Start by turning the water supply back on and examining the area around the tap. Look for signs of drips or moisture that might suggest the problem persists. Allow the tap to run for a minute or two while monitoring the joints and seals closely. If you spot any leaking taps during this inspection, you may need to re-evaluate your repairs or double-check that all components have been tightened correctly.
Additionally, let the tap sit unused for a while after the initial test. This downtime can help to reveal slow leaks that may not be immediately apparent. After a few hours, inspect the tap again and check for any dampness or water accumulation. Confirming a successful repair not only saves you from further damage but also ensures your tap operates efficiently. Address any issues promptly to maintain a drip-free environment in your home.
FAQS
What are the common causes of tap leaks?
Common causes of tap leaks include worn-out washers or O-rings, corroded valve seats, and loose fittings. Over time, regular use can wear these components down, leading to leaks.
How do I know if my tap needs a valve seat replacement?
If your tap continues to leak after replacing the washer or O-ring, or if you notice corrosion or damage to the valve seat, it may need to be replaced to ensure a proper seal.
Can I use any type of lubricant on my tap?
It's best to use plumber's grease, as it is specifically designed for plumbing applications. Avoid using regular grease or oil, as these can break down and cause further issues.
How can I test my tap for residual leaks after repairs?
After making repairs, turn on the tap and observe for any dripping. You can also place a paper towel under the tap to see if it absorbs any water over a period of time.
What should I do if my tap continues to leak after attempting repairs?
If your tap continues to leak despite your efforts, it may be best to consult a professional plumber. They can diagnose the issue and provide the appropriate solutions.