Table Of Contents
Disassembling the Faucet
To stop leaking taps, the first step involves safely disassembling the faucet. Start by turning off the water supply to prevent any unwanted spills. Use a screwdriver to remove the handle, which may require a specific type of screw or a hidden screw beneath a decorative cap. Once the handle is off, examine the inner components carefully. Depending on the faucet type, you may need to unscrew or pull out different parts to gain access to the washer or cartridge that requires attention.
It’s essential to organise the disassembled parts as you go along. Keeping track of screws and small components can save time and frustration during reassembly. Avoid forcing any parts apart to prevent damage. If corrosion or mineral buildup is present, carefully clean the affected areas. This meticulous approach not only aids in effectively fixing leaking taps but also ensures the longevity of the faucet components once reassembled.
Techniques to Safely Open the Unit
Before attempting to disassemble the faucet, make sure to turn off the water supply to prevent any sudden gush of water. Locate the shut-off valves typically found under the sink. If the tap does not have individual shut-off valves, turn off the main water supply. This step is crucial when dealing with leaking taps, as working with the faucet under pressure can lead to unwanted spills and further complications.
Next, prepare your workspace by placing a cloth or towel in the sink to catch any falling parts and prevent them from getting lost. Use a screwdriver to remove decorative caps if your faucet has them, exposing the screws underneath. Take care when loosening the screws, as over-tightening can damage threads or cause additional leaks. Once the screws are out, gently lift the faucet handle, revealing the inner components that need inspection or replacement.
Replacing WornOut Washers
Replacing worn-out washers is often a crucial step in fixing leaking taps. Over time, washers can degrade due to constant friction and exposure to water, leading to leaks. To begin the replacement process, it’s essential to turn off the water supply and properly disassemble the tap to access the washer. Once the tap is opened, you can carefully remove the old washer. Make sure to examine the seat for any damage that might need further attention.
Selecting the right washer size is vital to effectively stop the leak. It’s best to bring the old washer to a hardware store to find a suitable replacement. Ensure that the new washer fits snugly and securely in place to create a proper seal. After installing the new washer, reassemble the tap carefully. This small yet significant step can prevent future leaks and restore the functionality of your faucet.
Selecting the Right Washer Size
Choosing the correct washer size is crucial when addressing leaking taps. Standard washers come in various diameters and thicknesses to fit different types of faucets. Measuring the diameter of the existing washer can help determine the right size. If the washer is missing or damaged, taking the faucet's model number to the hardware store can also assist in finding the correct replacement.
Once you have the measurements or model information, consult the manufacturer's guide or staff at the hardware store. They can provide guidance on which washer suits your specific faucet type. Ensuring you have the right size will not only fix the leak but also prevent future drips and potential water damage. Leaking taps can be both irritating and wasteful, making proper washer selection a necessary step in the repair process.
Tightening Loose Components
Loose components in a faucet can often contribute to leaking taps. Over time, the constant flow of water can cause screws and fittings to become loose. Therefore, a good first step is to inspect visible screws and nuts on the handle and base of the faucet. Using a screwdriver or wrench, tighten these connections gently to prevent any potential water leaks. Avoid overtightening, as this can damage the fixtures and create new issues.
In addition to checking the exterior components, it's wise to look at the internal parts if accessible. Dismantling the faucet may reveal loose washers or seats that can exacerbate the leaking taps. When reassembling the unit, ensure every part is secured and aligned properly. If any component remains loose after tightening, it might be necessary to replace it to ensure proper functioning. Regular maintenance can help identify these issues before they lead to more significant leaks.
Areas to Inspect for Loose Parts
Begin by examining the faucet's handle and any decorative caps that may be present. It is common for these components to become loose over time, leading to a misalignment that can cause leaking taps. Gently wiggle the handle to see if it moves more than expected. If it does, tightening the screws or nuts beneath the handle can often resolve the issue.
Next, scrutinise the spout and the mounting area where it connects to the sink. Loosened nuts or bolts can result in the spout shifting and contributing to water leakage. Ensuring these components are secure can prevent further issues. Regular inspections of these areas will help maintain proper function and reduce the risk of leaking taps in the future.
FAQS
What are the common causes of a leaky faucet?
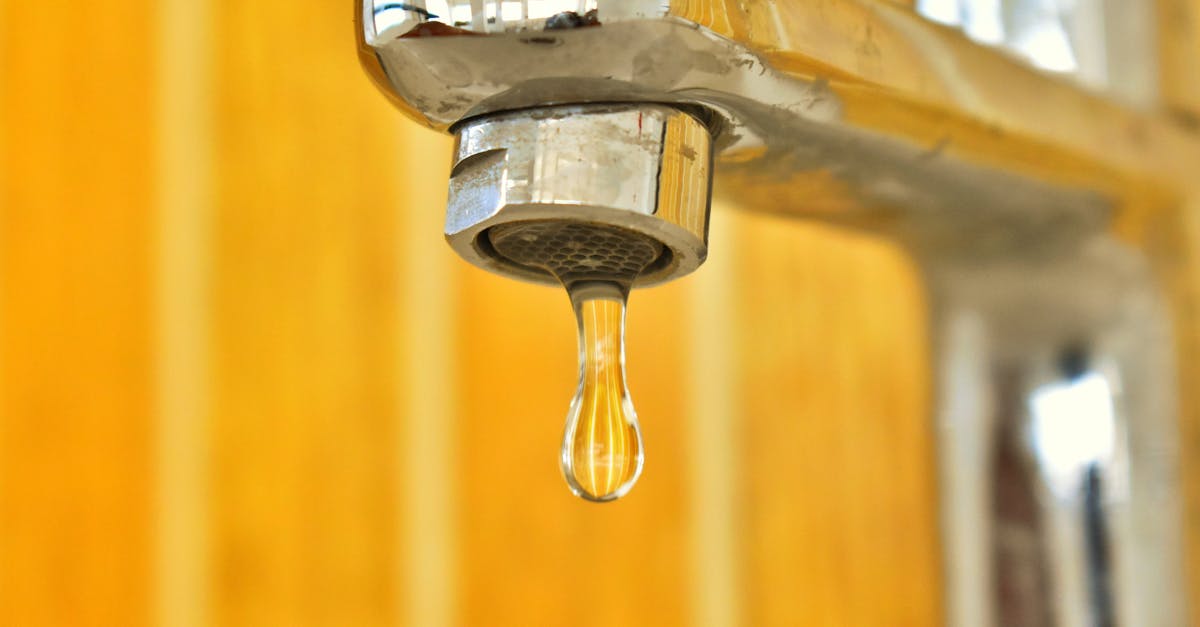
Common causes of a leaky faucet include worn-out washers, loose components, and deteriorated seals. Over time, these parts can become damaged or degraded, leading to leaks.
How can I tell if my faucet needs a washer replacement?
You may need to replace your faucet's washer if you notice a constant drip or if the water flow becomes uneven. Additionally, if you hear a hissing or sputtering sound when using the tap, it may indicate worn washers.
Are there any tools required to stop a leaky faucet?
Yes, some basic tools you may need include a wrench, screwdriver, and possibly a pair of pliers. Having these tools on hand will help you disassemble the faucet and replace any worn parts.
Is it difficult to fix a leaky faucet myself?
Fixing a leaky faucet can be a straightforward task for those with basic DIY skills. However, if you feel uncomfortable or unsure, it may be best to consult a professional plumber.
How do I ensure that I select the right washer size for my faucet?
To select the right washer size, you can either take the old washer to a hardware store for matching or consult the manufacturer's specifications for your faucet model to find the appropriate size.