Table Of Contents
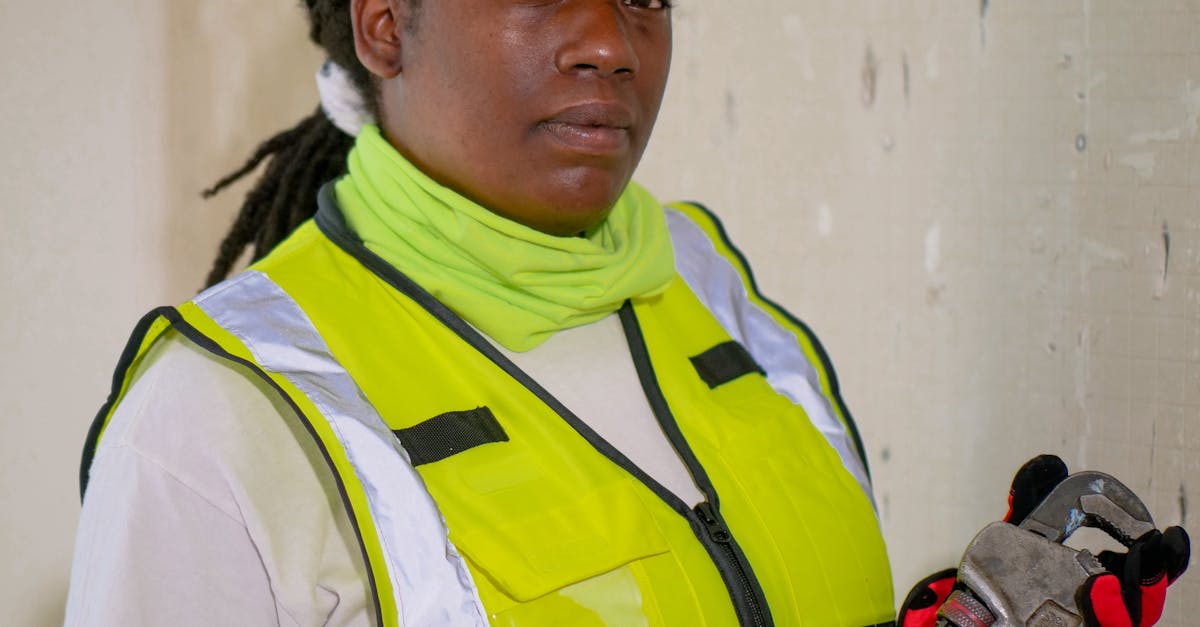
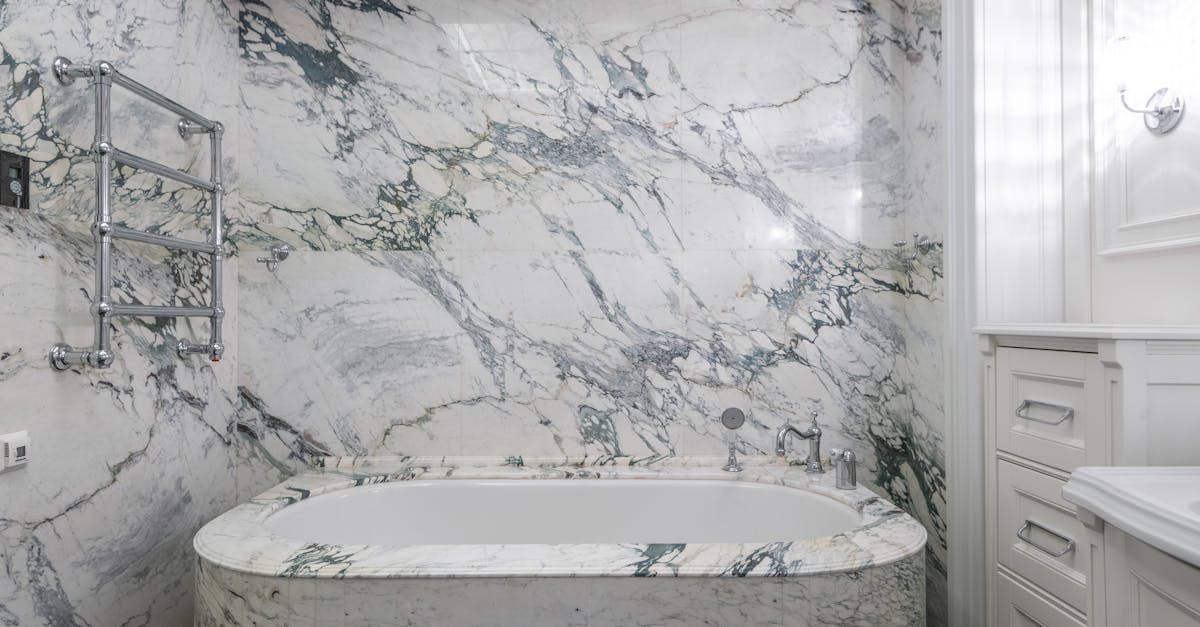
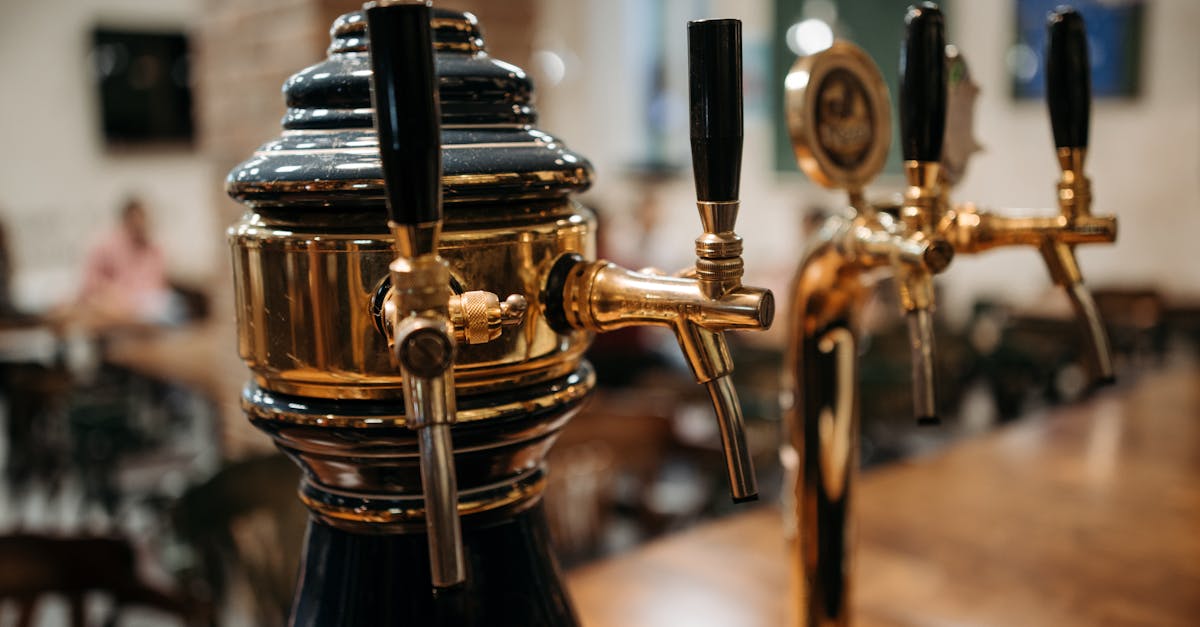
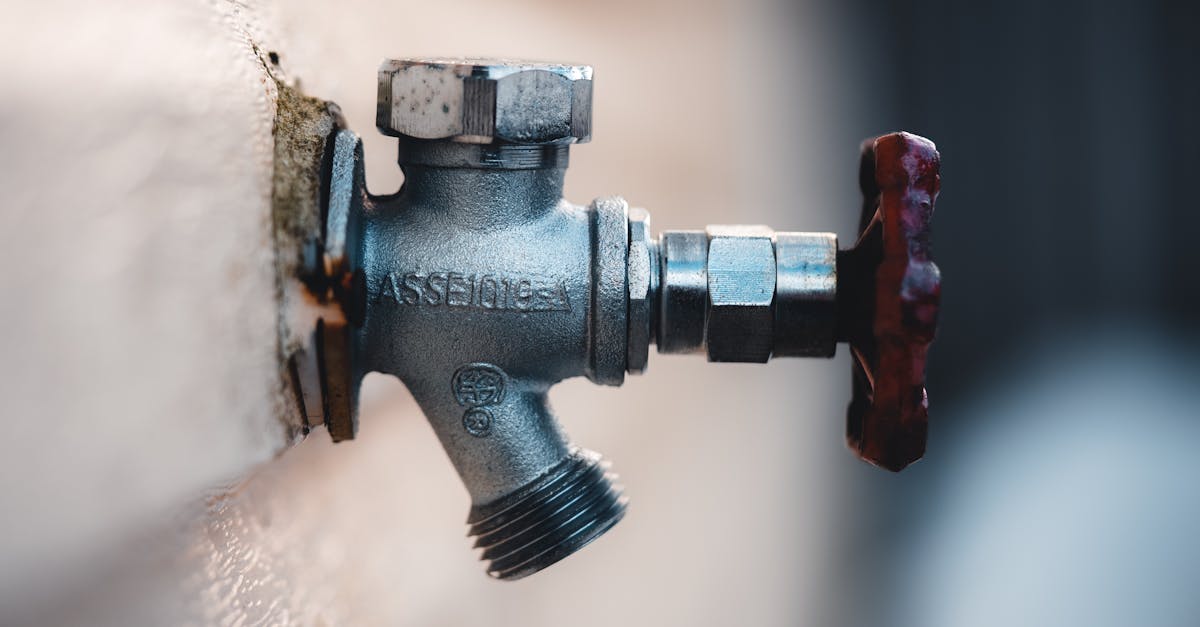
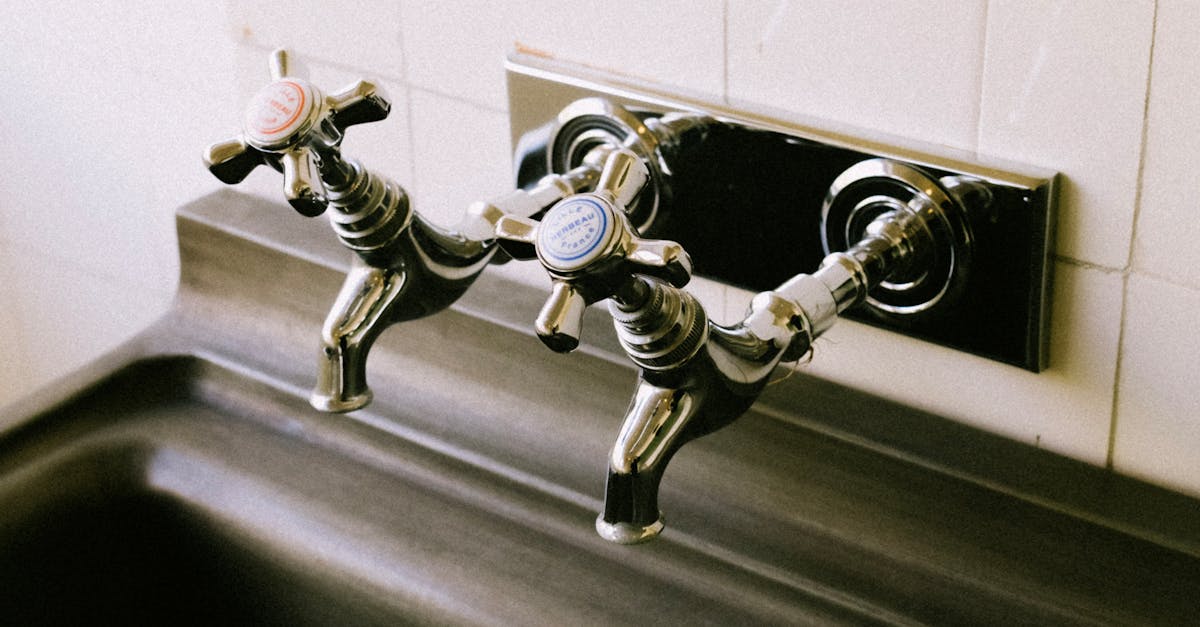
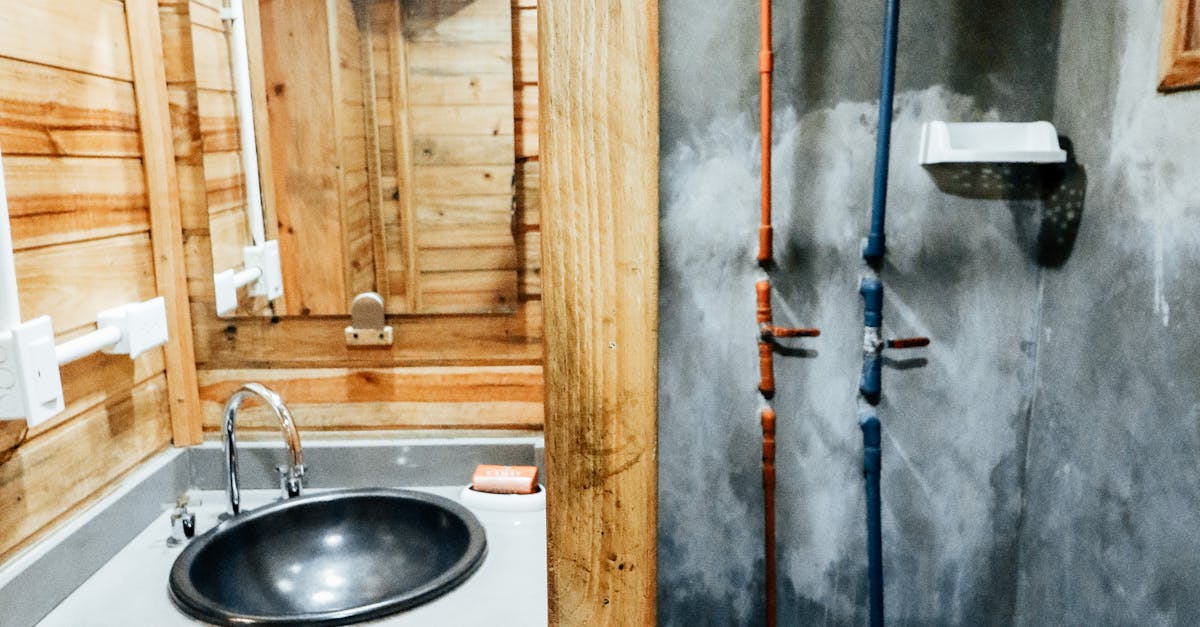
Inspecting the Stop Tap
Inspecting the stop tap is a crucial step in addressing the issue of leaking taps. Begin by turning off the water supply to prevent further leakage during your examination. Look closely at the tap for any signs of corrosion, rust, or mineral buildup. These factors can lead to compromised seals or damage, resulting in leaks. Ensure you check the area where the tap connects to the pipe, as this is a common spot for issues to arise.
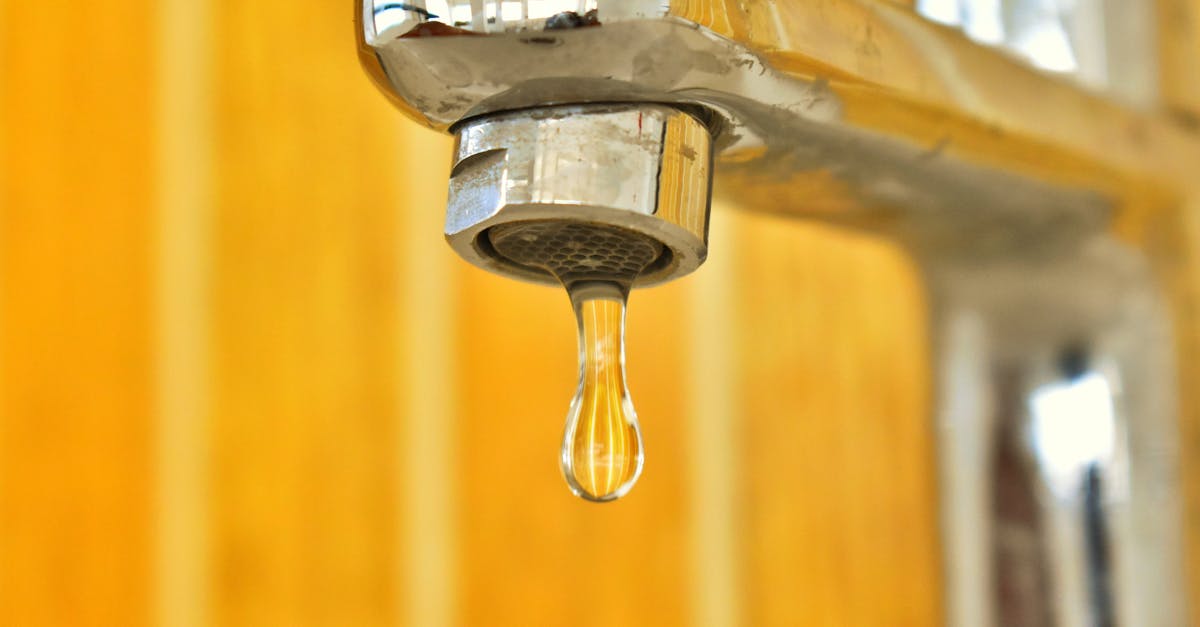
After the initial visual inspection, it is important to feel for any moisture around the tap and pipes. If you detect dampness, it may indicate an active leak that needs attention. Pay special attention to any visible joints or connections, as leaking taps can often stem from these areas. In addition to visual clues, listen for any hissing or dripping sounds that could signify a malfunction within the stop tap mechanism itself.
How to Examine for Visible Damage
When examining a stop tap for visible damage, begin by visually inspecting the entire assembly. Look for any signs of corrosion, rust, or cracks along the body of the tap. Pay particular attention to the area around the valve seat and handle as these can often be points of failure. If you notice any leaking taps, it may indicate that the component is worn out and in need of replacement.
Next, check the washers and O-rings inside the tap. These small rubber components play a crucial role in sealing water flow. Over time, they can become brittle or degrade, leading to leaks. If the washers appear worn or deformed, it's an indication that they may need to be replaced to prevent future leaking taps. Properly assessing the condition of these parts will help ensure the stop tap functions effectively and maintains a proper seal.
Replacing Washers
Leaking taps often result from worn-out washers, which can degrade over time due to constant exposure to water. Identifying the need for a washer replacement is critical for preventing further water wastage. If you notice dripping or continuous leaking around the stop tap handle, it’s time to investigate the washer. Generally, dismantling the handle is necessary to reach the washer, which is typically located beneath the handle or within the tap body.
When replacing a washer, ensure you choose the correct size and type that fits your specific tap model. Many DIY enthusiasts find that using a flat or rubber washer can effectively eliminate leaks. After removing the old washer, clean the seating area to remove any debris or mineral buildup. This step ensures a proper seal when the new washer is installed. Proper installation is key to stopping leaking taps, so take care to reassemble the stop tap securely without overtightening, which could lead to additional damage.
When to Change the Washer in a Stop Tap
Changing the washer in a stop tap becomes essential when you notice leaking taps. Over time, washers can wear out or degrade due to constant water pressure and friction. If you observe water seeping from the tap or around its base, this can indicate that the washer is no longer sealing effectively. Regular inspections can help identify these issues early, allowing you to address them before they become more serious.
If your stop tap is more than a few years old, it is wise to consider replacing the washer as a part of routine maintenance. Even if leaking taps are not immediately visible, the performance of older washers may diminish over time. Scheduling a replacement during a home maintenance check can save you from the inconvenience of unexpected leaks and ensure that your plumbing system remains efficient.
Tightening Connections
When dealing with leaking taps, one of the first steps involves checking all connections to ensure they are properly tightened. Over time, fittings can become loose due to changes in temperature and pressure. This can lead to unforeseen leaks and water wastage. Use a suitable wrench or pliers to carefully tighten any loose connections, taking care not to overtighten, as this may cause additional damage.
Ensure you inspect both the inlet and outlet connections of the stop tap. If you notice any signs of corrosion or wear, consider replacing the fittings altogether. Regular maintenance of these connections plays a crucial role in preventing leaking taps from becoming a recurring issue. A simple tightening can often resolve minor leaks, saving both water and the potential cost of further repairs.
Proper Techniques for Securing Fittings
To secure fittings effectively, begin by ensuring that all threads are clean and free from debris. Use a suitable thread sealant tape to wrap around the male threads of the pipe before screwing on the fitting. This helps create a better seal, reducing the risk of water escaping. Always tighten fittings by hand first, ensuring they are snug before using any tools for further tightening.
When using tools, opt for a wrench that fits properly to avoid damaging the fittings. Avoid over-tightening, as this can lead to cracking or warping, which could contribute to leaking taps. Once the fittings are secure, check for leaks by turning on the water supply and monitoring for any signs of dripping. Address any leaks immediately to prevent further issues.
FAQS
What is a stop tap, and why is it important?
A stop tap is a valve that controls the flow of water in a plumbing system. It is important because it allows you to shut off the water supply in case of a leak or for maintenance.
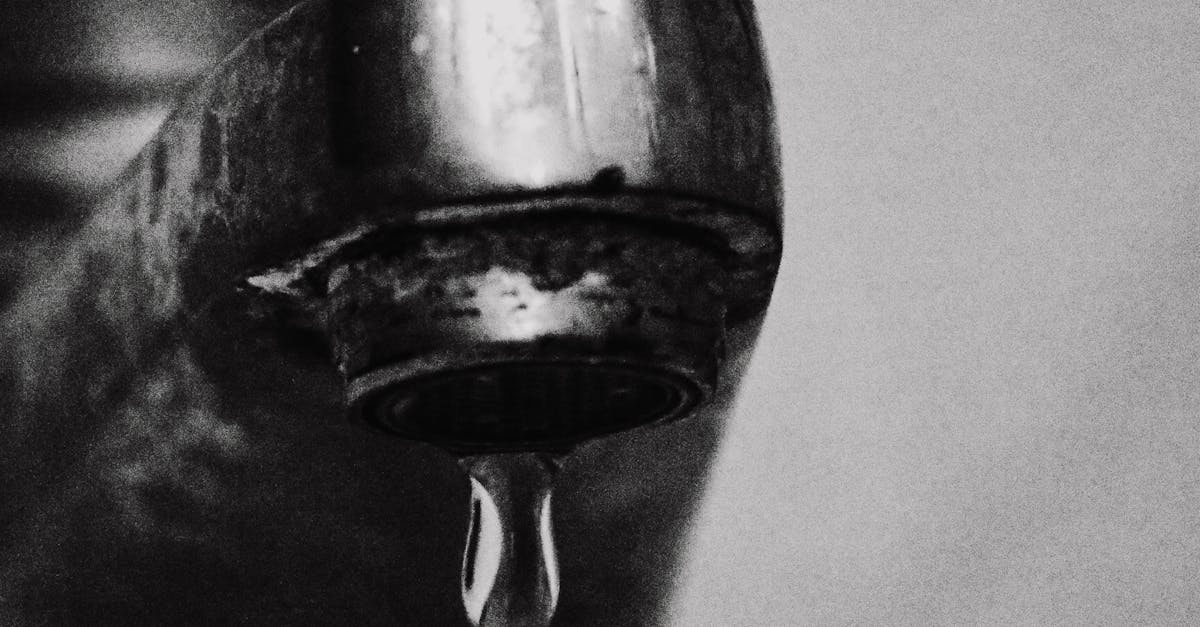
How can I tell if my stop tap is leaking?
Check for visible water pooling around the tap, damp patches on the wall or floor, or a constant dripping sound. You may also notice fluctuations in water pressure.
What should I do if I find a leak in my stop tap?
First, turn off the water supply to prevent further leakage. Then, inspect the stop tap for visible damage, replace any worn washers, or tighten the connections as needed.
How often should I replace the washers in my stop tap?
It's advisable to inspect the washers annually and replace them if you notice any signs of wear or if the tap starts leaking.
Can I fix a leaking stop tap myself, or should I call a plumber?
Many minor leaks can be fixed by following DIY steps, such as replacing washers or tightening connections. However, if you are unsure or the problem persists, it's best to consult a plumber for professional assistance.