Table Of Contents
Applying Pipe Sealant
Pipe sealant can offer a practical solution for dealing with leaking pipes. This versatile material creates a watertight bond that can effectively seal small holes or cracks. Before applying sealant, ensure the area around the leak is clean and dry. Removing any dirt, grease, or old sealant will help the new application adhere better. In addition to traditional plumbing scenarios, pipe sealant can also be useful for addressing issues such as leaking taps.
When using pipe sealant, it's important to follow the manufacturer's instructions carefully. Apply the sealant generously over the leak, ensuring full coverage. For best results, a smooth, even layer should be achieved, allowing it to expand and fill any gaps. After application, give the sealant adequate time to cure before turning the water supply back on. This simple yet effective method can extend the life of a pipe while providing a temporary fix until a more permanent repair is possible.
How to Effectively Use Sealant
Applying pipe sealant requires careful preparation to ensure the best results. Start by cleaning the area around the leak thoroughly to remove any debris and moisture. This helps the sealant adhere properly. Once the surface is dry, apply a generous amount of pipe sealant directly onto the leak. Ensure that the product is suitable for the type of piping being repaired. For leaking taps, it is crucial to apply the sealant evenly, covering the affected area entirely to prevent further leakage.
After applying the sealant, allow it to cure according to the manufacturer’s instructions. Avoid turning the water back on until the sealant has completely set to avoid washing it away. If you’re dealing with leaking taps, consider turning off the main water supply temporarily to reduce pressure on the leak while the sealant dries. Regularly check the area after application to ensure that the leak has been effectively sealed and no additional water is seeping through.
Employing a Pipe Repair Clamp
Pipe repair clamps are an efficient solution for dealing with leaks without the need for complete replacement. These clamps provide a tight grip around the damaged area, effectively sealing off the leak. They come in various sizes and materials, making it essential to select the right clamp that fits the pipe diameter and type. Installing the clamp not only halts the immediate problem but can also help prevent further water damage and costly repairs down the track.
When addressing leaking taps, it’s crucial to ensure that the surface around the leak is clean and dry before applying the clamp. Improper installation might lead to a continued leak or even worsen the situation. After securing the clamp, monitoring the repair for any signs of moisture can help confirm its effectiveness. This temporary fix allows households to manage urgent plumbing issues while arranging for more comprehensive repairs if necessary.
Installation Tips for Maximum Effectiveness
When installing a pipe repair clamp, ensure the affected area is clean and dry. Remove any debris or corrosion that may hinder adhesion. A good fit is crucial for maximizing the effectiveness of the clamp. Position it directly over the leak and tighten it securely, ensuring it maintains an even pressure around the pipe. This will help create a watertight seal and prevent further leakage.
For leaking taps, monitoring the clamp's effectiveness after installation is vital. Check periodically for any signs of moisture around the repair site. Additionally, avoid any excessive movement or stress on the pipe during and after the installation process. Using the correct size clamp tailored to the diameter of your pipes can also significantly enhance the chance of achieving a solid and lasting repair.
Temporary Solutions for Urgent Situations
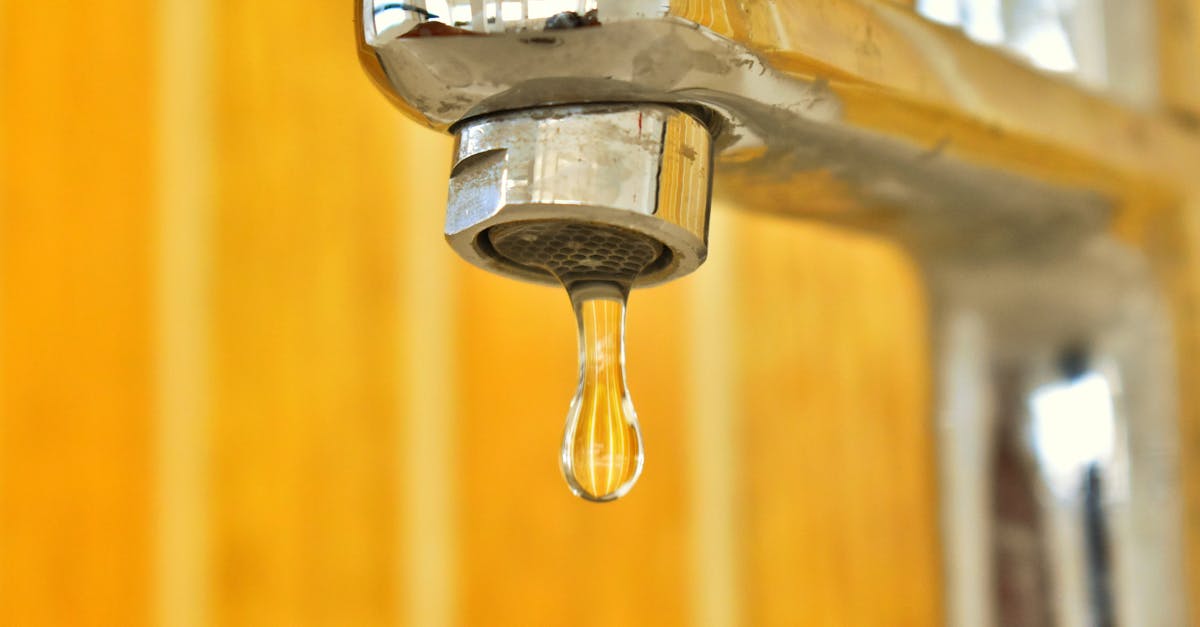
Dealing with a leaking pipe can be urgent and stressful, especially when it leads to water pooling in unwanted areas. For quick, temporary fixes, consider using duct tape to wrap the leak. This method may not provide a long-term solution, but it can be effective in slowing down the flow of water until a more permanent repair can be made. Additionally, leaking taps can also compound the issue by dripping continuously, so addressing those sources of leaks quickly can reduce overall water damage.
Another option is to use plumber's putty around the site of the leak to create a temporary seal. This needs to be applied carefully, ensuring that the surface is clean and dry beforehand. While this method can be a temporary bandage, managing leaking taps is equally important to prevent further complications. Keeping a bucket underneath the affected area can help catch any excess water while repairs are pending. These immediate actions can assist in minimising damage and disruption in your home.
Best Practices Until a Permanent Fix is Made
When dealing with leaking taps, immediate action is crucial to minimise damage while awaiting a permanent repair. First, ensure the water supply is turned off at the mains or near the affected area. If this isn’t feasible, placing a bucket or container beneath the leak can help catch water and prevent potential flooding. Additionally, using towels or rags to mop up any accumulating water will keep the area dry and reduce the risk of mould or structural issues.
Another effective temporary measure involves using tape, such as duct tape, to cover the leak. This method can slow the flow significantly until a more permanent solution is applied. Be mindful that this is not a long-term fix, and regular checks should be made to ensure the tape remains secure. Keeping the surrounding area ventilated will also help prevent dampness and its associated problems as you prepare for a complete repair.
FAQS
What are some common causes of a leaky pipe?
Common causes of a leaky pipe include corrosion, high water pressure, temperature changes, and joint wear. Over time, these factors can lead to cracks or holes in the pipe.
Can I use regular tape to fix a leaky pipe?
Regular tape is not recommended for fixing a leaky pipe as it may not provide a durable or waterproof seal. Instead, using specialised pipe sealant or a pipe repair clamp is advisable.
How long can I expect a sealant to last on a leaky pipe?
The longevity of a sealant can vary based on the type used and the conditions of the leak. Generally, a well-applied sealant can last several months, but it’s best to monitor the repair regularly.
Is it safe to use a pipe repair clamp on all types of pipes?
Pipe repair clamps are generally safe for most types of pipes, including PVC, copper, and metal. However, it's important to check the specifications of the clamp and ensure it is compatible with your specific pipe type.
What should I do if my temporary solution for a leaky pipe fails?
If a temporary solution fails, you should immediately turn off the water supply to prevent further damage. Consider using a more permanent repair method, and consult a professional plumber if necessary.