Table Of Contents
Replace Damaged Components
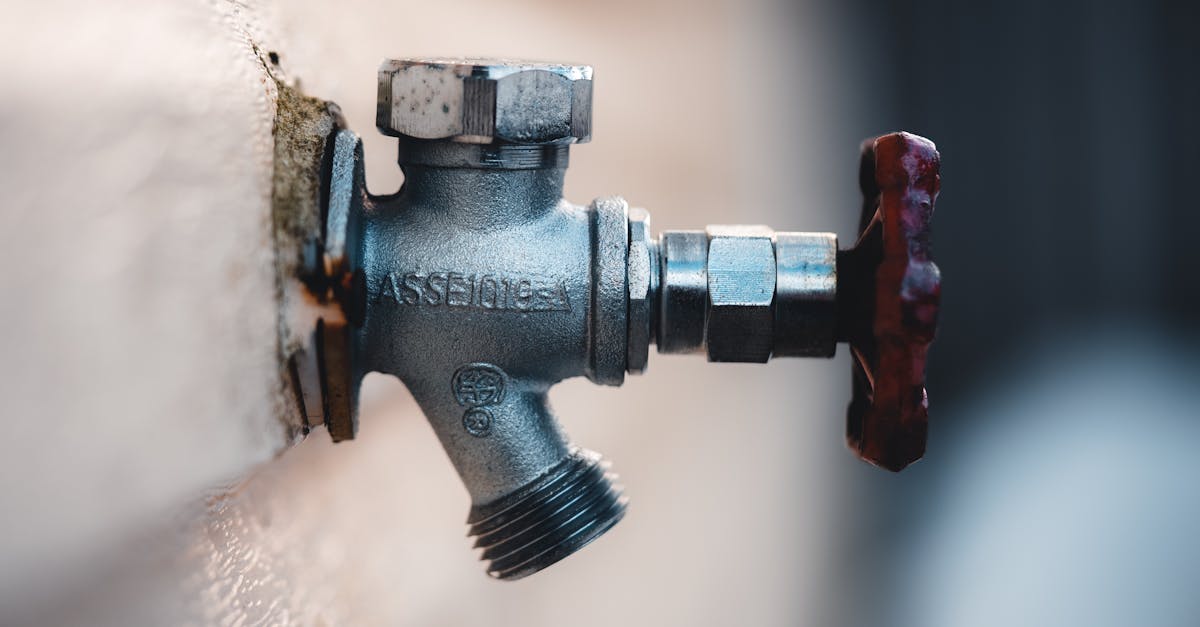
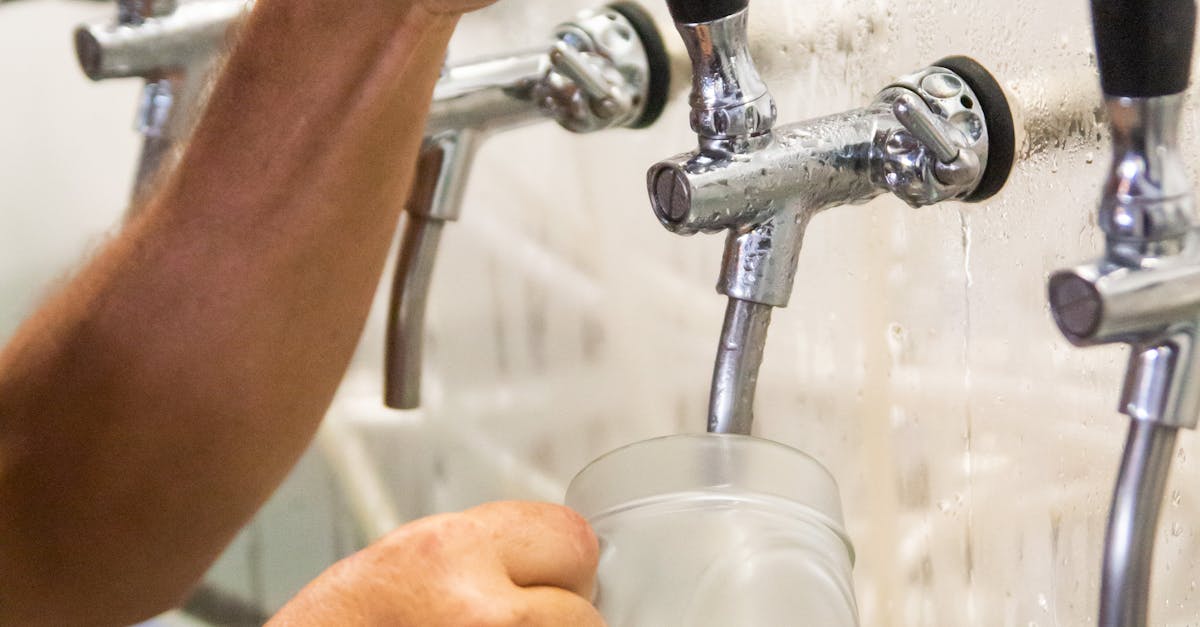
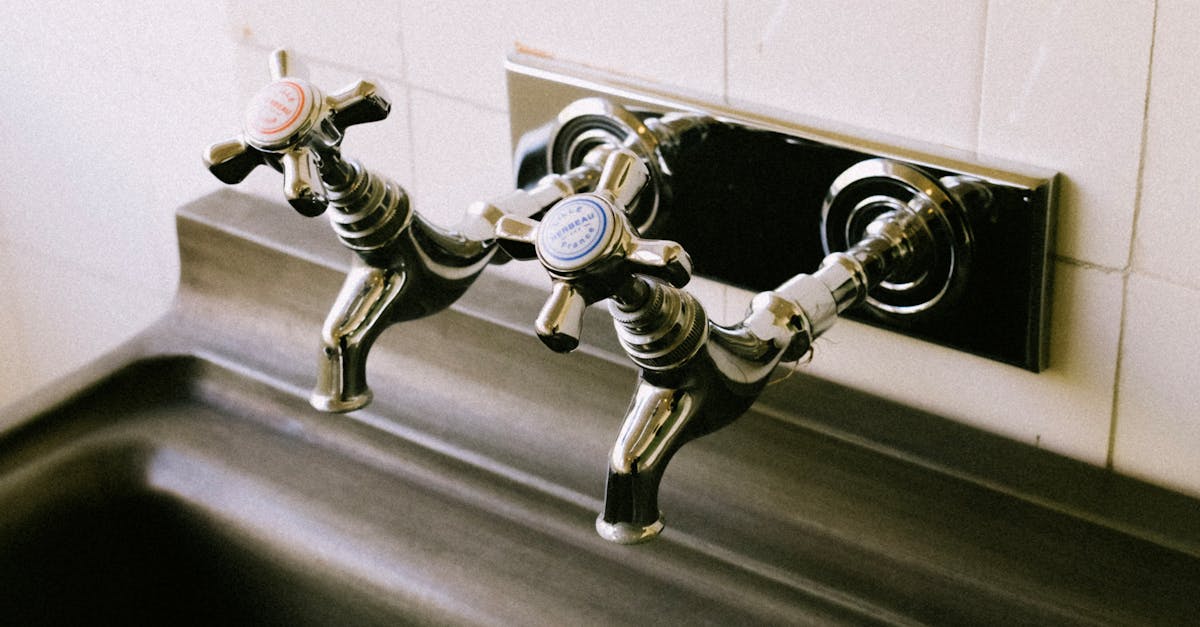
To effectively address leaking taps, it’s essential to identify and replace any damaged components. Common culprits include washers, O-rings, and cartridge seals, which can deteriorate over time due to constant wear and tear. Inspecting these parts will often reveal visible signs of damage or excessive wear that compromise their ability to create a tight seal. Replacing them will not only resolve the immediate leak but also enhance the overall functionality of the tap.
When sourcing replacement components, make sure to choose the right size and style to fit your specific tap model. Washers and O-rings are typically available in various sizes, so it’s important to take accurate measurements before purchasing. Many hardware stores provide assistance in finding suitable replacements, making it easier to restore your tap to full working order. With the appropriate parts on hand, the repair process becomes significantly smoother, paving the way for a successful fix to those pesky leaking taps.
Choosing the Right ORings and Washers
When addressing leaking taps, selecting the appropriate O-rings and washers is vital for ensuring an effective seal. These components come in various sizes and materials, each suitable for different tap designs and water conditions. It’s crucial to measure the existing parts carefully, noting their thickness and diameter. When choosing washers, consider rubber or silicone options for their elasticity and durability, which can provide a better seal against water pressure. If unsure, consult with local hardware specialists, as they can recommend the right size and material based on your specific needs.
The installation of the new O-rings and washers can significantly reduce the chances of future leaks. Ensure the surfaces where the washers will sit are clean and free from old debris. Any dirt or damage can compromise the seal, leading to more problems down the line. Press the new O-rings and washers into place securely but avoid excessive force. A proper fit will ensure that the tap operates effectively without the risk of leakage after reassembly. Taking these steps can significantly enhance the longevity of your tap and reduce the annoyance of leaking taps.
Reassemble the Tap
Careful reassembly of the tap is crucial to ensure a tight seal and prevent future leaks. Begin by placing the newly chosen O-rings and washers in their designated grooves. Ensure each component fits snugly without any undue pressure that might cause damage. Keep the correct orientation of the tap in mind, as improper alignment can lead to ongoing issues, including leaking taps that can waste water and increase your utility bills.
Once all parts are in position, gently screw the tap handle back onto the body of the tap. Use a wrench to tighten the screws or nuts, but exercise caution not to overtighten, as this may lead to cracked fittings or mismatched components. It's important to reassemble each part sequentially, revisiting each step to confirm that everything is correctly aligned. A well-reassembled tap will function effectively, significantly reducing the likelihood of recurring leaking taps.
Proper Assembly Techniques
Careful assembly is crucial when reassembling the tap after replacing the necessary components. Ensure that all the parts are aligned correctly, paying particular attention to the positioning of the O-rings and washers. These components are essential in preventing any future leaks, so take the time to place them in their designated slots. A misalignment can lead to improper sealing, resulting in recurring issues with leaking taps. Tightening screws or bolts should be performed evenly to avoid any undue stress on the components.
Once the assembly is complete, it is important to verify that all connections are secure. A firm but gentle tightening of each part can help to establish a reliable seal without damaging any threads or fittings. After ensuring everything is in place, it is advisable to run the tap briefly to check for proper operation. This test will help identify any potential leaks that may have been missed during assembly, ensuring that the tap functions correctly and efficiently.
Turn the Water Supply Back On
After completing the reassembly of the tap, the next step is to turn the water supply back on. This process involves locating the main valve that controls the water flow to the tap. Gently turning the valve should restore water flow, allowing you to test the repaired tap without any pressure on the system.
Once the water is flowing again, closely observe the tap for any signs of leaking taps. This initial check is crucial to ensure that all components are properly sealed and functioning correctly. Addressing any issues at this stage can help prevent future water waste and further plumbing problems.
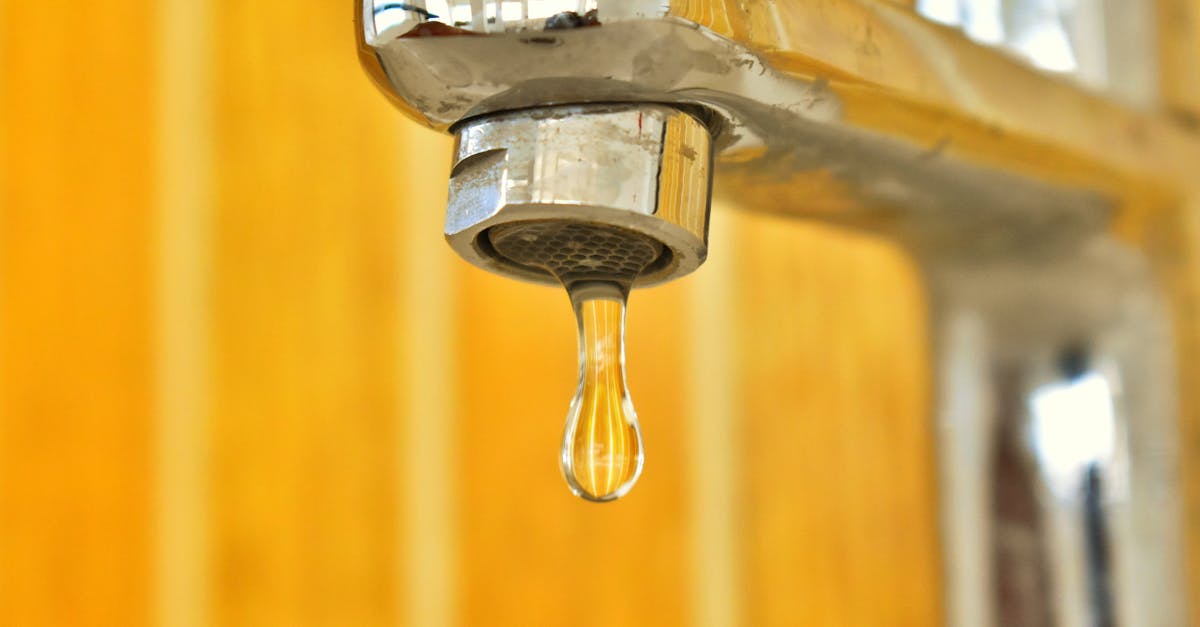
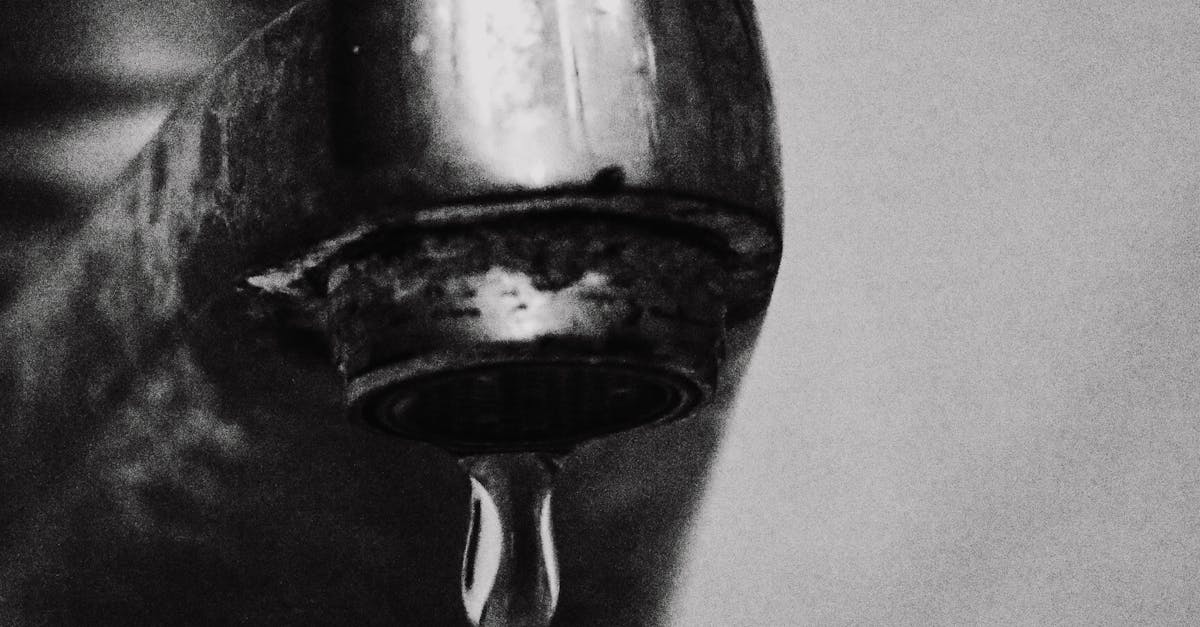
Checking for Leaks
After reassembling the tap and turning the water supply back on, it's crucial to check for any leaks. Observe the area around the base of the tap and the fittings. This is where leaking taps often show signs of persistent dripping or water accumulation. A close inspection helps identify if the new O-rings or washers are properly sealed.
If you notice any moisture or drips, it indicates that a seal may not be tight enough or a component remains worn out. In such cases, it’s advisable to turn off the water supply again and disassemble the tap to inspect each part. Make sure the components are aligned correctly during the reassembly process. Ensuring a solid connection will prevent leaking taps once you reactivate the water flow.
FAQS
What are the common causes of a leaking tap?
Common causes of a leaking tap include worn-out washers, damaged O-rings, loose fittings, or corrosion in the tap components.
How do I know if I need to replace the O-rings or washers?
If you notice water dripping from the tap or a constant leak, it's likely that the O-rings or washers are damaged and need to be replaced.
Can I seal a leaking tap without professional help?
Yes, sealing a leaking tap can often be done as a DIY project using basic tools and materials, as long as you're comfortable with the process.
What tools do I need to seal a leaking tap?
You'll typically need a screwdriver, adjustable wrench, pliers, and possibly a replacement set of O-rings or washers, depending on the specific issue.
How can I prevent my tap from leaking in the future?
Regular maintenance, such as checking for wear and tear on components and replacing them as needed, can help prevent leaks. Additionally, avoid overtightening the tap when turning it off.